When you purchase through links on our site, we may earn an affiliate commission.
What We Like
-
Customization allows for specific cooling solutions like 360mm radiators to maintain temperatures below 75C under load.
-
Higher price-to-performance ratio compared to pre-built systems, often saving 20-30 percent on hardware costs.
-
Flexible upgrade paths allow for replacing individual components like the GPU or RAM over a 5-year lifecycle. #
What Could Be
Better - Initial assembly requires 3-5 hours of labor and careful handling of static-sensitive electronics.
- Troubleshooting hardware compatibility issues can be complex for users without technical experience.
- Lack of a single vendor warranty means users must navigate individual component return policies.
Introduction
The market of PC gaming is constantly evolving, and 2026 is no exception. Building your own computer remains the single most effective way to maximize performance per dollar while ensuring your machine is tailored exactly to your needs. This Gaming PC Builds Guide is designed to demystify the process, taking you from a novice with a pile of boxes to a confident builder with a high-performance machine. When you build your own PC, you unlock a level of customization that pre-built systems simply can’t match. You gain the ability to prioritize the components that matter most to your specific gaming style, whether that’s raw frame rates for competitive shooters or graphical fidelity for immersive RPGs. Also, understanding your hardware empowers you to troubleshoot issues and perform upgrades down the line, extending the lifespan of your investment significantly.
Before You Start: Define
Your Goals Before you buy a single component, it’s crucial to define exactly what you want your computer to achieve. A clear plan prevents money from being wasted on unnecessary features or, conversely, underspending on critical parts. Your build should be a reflection of your specific use case, as a machine built for professional video editing requires different strengths than one built strictly for gaming. Establishing these goals early is the foundation of a successful project.
What Type of
Gamer Are You? Identifying your gamer profile is the first step. If you’re an Esports or competitive gamer playing titles like Valorant or Counter-Strike 2, your priority is high frame rates and low latency, meaning you need a powerful CPU and faster RAM. AAA high-resolution gamers who want to experience Cyberpunk 2077 or GTA VI at max settings will need to pour the majority of their budget into a top-tier Graphics Processing Unit (GPU). Casual gamers might prefer a balanced mid-range build that handles everything competently without breaking the bank. Finally, Streamers and YouTubers need a hybrid machine with extra CPU cores or specific GPU encoders to handle gaming and broadcasting simultaneously without dropped frames.
What’s Your Resolution and Refresh
Rate? Your monitor determines the hardware you need. For 1080p gaming, you don’t need a flagship graphics card; mid-range options are sufficient to hit high refresh rates. Moving up to 1440p is currently the sweet spot for PC gamers, offering a balance of sharpness and performance, typically requiring a mid-to-high-tier GPU. If your goal is 4K gaming, you’re entering the enthusiast tier, requiring the most powerful hardware available to maintain smooth frame rates. Also, consider the refresh rate. Driving a 60Hz monitor is much easier than driving a 240Hz or 360Hz monitor, which places a heavy load on both the CPU and GPU.
Budget Planning
Setting a realistic budget helps narrow down your component choices immediately. An entry-level build, typically between $800 and $1,000, is great for 1080p gaming. The mid-range tier, usually $1,200 to $1,800, opens the door to 1440p gaming and solid ray tracing performance. High-end builds ranging from $2,000 to $3,500+ are for 4K resolution and uncompromising performance. Remember to set aside a portion of your budget for peripherals like a monitor, keyboard, and mouse if you don’t already own them.
Choosing the
Right Components Selecting parts can be daunting due to the sheer volume of options. However, every computer consists of the same core components. Understanding what each part does and what specs to look for will make the shopping process much smoother.
CPU (Central
Processing Unit) The CPU is the brain of your computer. For gaming, single-core performance and clock speeds are often more important than having a massive number of cores. However, modern games are becoming increasingly multi-threaded. When looking at specs, pay attention to the core count (6 to 8 cores is the current sweet spot for pure gaming) and boost clock speeds. Intel’s Core Ultra and AMD’s Ryzen 9000 series are the current contenders. For pure gaming, AMD’s X3D chips with 3D V-Cache are often considered the gold standard because of their massive cache memory which significantly boosts frame rates in simulation-heavy titles.
GPU (Graphics
Processing Unit) The GPU is the most critical component for gaming performance and usually the most expensive. When analyzing GPUs, look at VRAM (Video RAM). For modern 1080p gaming, 8GB is the minimum, but 12GB or 16GB is recommended for 1440p and 4K to ensure textures load correctly in future titles. Nvidia cards generally lead in ray tracing performance and offer features like DLSS (Deep Learning Super Sampling), while AMD Radeon cards often offer better raw performance per dollar in rasterization and use FSR (FidelityFX Super Resolution).
Motherboard
The motherboard connects all your components. The most important factor is the socket type, which must match your CPU (e.g., AM5 for AMD or LGA 1851 for Intel). Look for a board with decent VRM (Voltage Regulator Module) quality, as this ensures your CPU receives clean power, which is vital for stability and longevity. Connectivity is also key; ensure the board has enough USB ports, M.2 slots for high-speed storage, and PCIe lanes for your GPU and potential expansion cards.
RAM (Random
Access Memory) RAM stores temporary data for quick access by the CPU. In 2026, DDR5 is the standard for new builds. For capacity, 32GB is the new sweet spot for gaming, allowing for multitasking and demanding games without stuttering. 16GB is the bare minimum and may struggle in some modern titles. Speed matters too; look for DDR5 kits running between 6000MHz and 6400MHz with low latency (CL30 or CL32) for the best balance of price and performance.
Storage
Gone are the days of slow mechanical hard drives for gaming. You need an NVMe M.2 SSD. These drives plug directly into the motherboard and offer blazing-fast load times. Gen4 NVMe drives are currently the standard and offer excellent speed for the price. Gen5 drives are faster but more expensive and generally unnecessary for gaming workloads. A 1TB drive is the minimum recommendation to hold the OS and a few large games, but 2TB is preferred as game sizes continue to balloon.
Power Supply (PSU)
Never skimp on the Power Supply Unit. It regulates power to every component, and a cheap unit can fail and take your expensive hardware with it. Look for 80+ Gold efficiency or higher. Stick to reputable brands with long warranties (7-10 years). Calculate your total system wattage and add 20-30% overhead to ensure the PSU runs efficiently and quietly. For modern high-end GPUs, ensure the PSU supports the ATX 3.0 or 3.1 standard with a native 12V-2x6 cable.
Case and Airflow
Your case dictates how cool your components run and how easy the build process is. Focus on airflow; cases with mesh front panels are superior to those with solid glass fronts because they allow cool air to be pulled in easily. Consider the size (ATX, Micro-ATX, or Mini-ITX) and ensure it fits your motherboard and GPU length. Good cable management space behind the motherboard tray is also essential for a clean-looking build.
Cooling
Keeping temperatures low prevents thermal throttling. Air coolers are reliable, cheaper, and last forever, with high-end models competing with liquid cooling. AIO (All-in-One) liquid coolers offer a cleaner aesthetic and can be more effective for high-wattage CPUs, but they’re more expensive. Ensure your case has the correct radiator support if you choose an AIO. For most mid-range builds, a quality air cooler is perfectly adequate.
Operating System and Software
Windows 11 is the standard for modern gaming PCs, offering the best scheduler for hybrid CPU architectures and support for DirectStorage. After installation, you’ll need to download the latest drivers for your chipset and GPU to ensure optimal performance. Monitoring tools like HWMonitor or MSI Afterburner are essential for keeping an eye on thermals and clock speeds during your initial stress tests.
Why Building
Your Own PC Wins in 2026 Building a high end gaming PC 2026 allows you to bypass the restrictive proprietary parts found in many pre-built systems. When you build yourself, you choose a motherboard with better VRM cooling, such as the ASUS ROG Maximus Z790 Dark Hero, which ensures your CPU maintains peak boost clocks. You also gain complete control over airflow, allowing for configurations like a front-intake setup that can lower GPU temperatures by 8-10 degrees Celsius. This level of customization ensures that your investment provides better value, as you’re not paying for marketing markups or sub-par power supplies.
Core Components: The
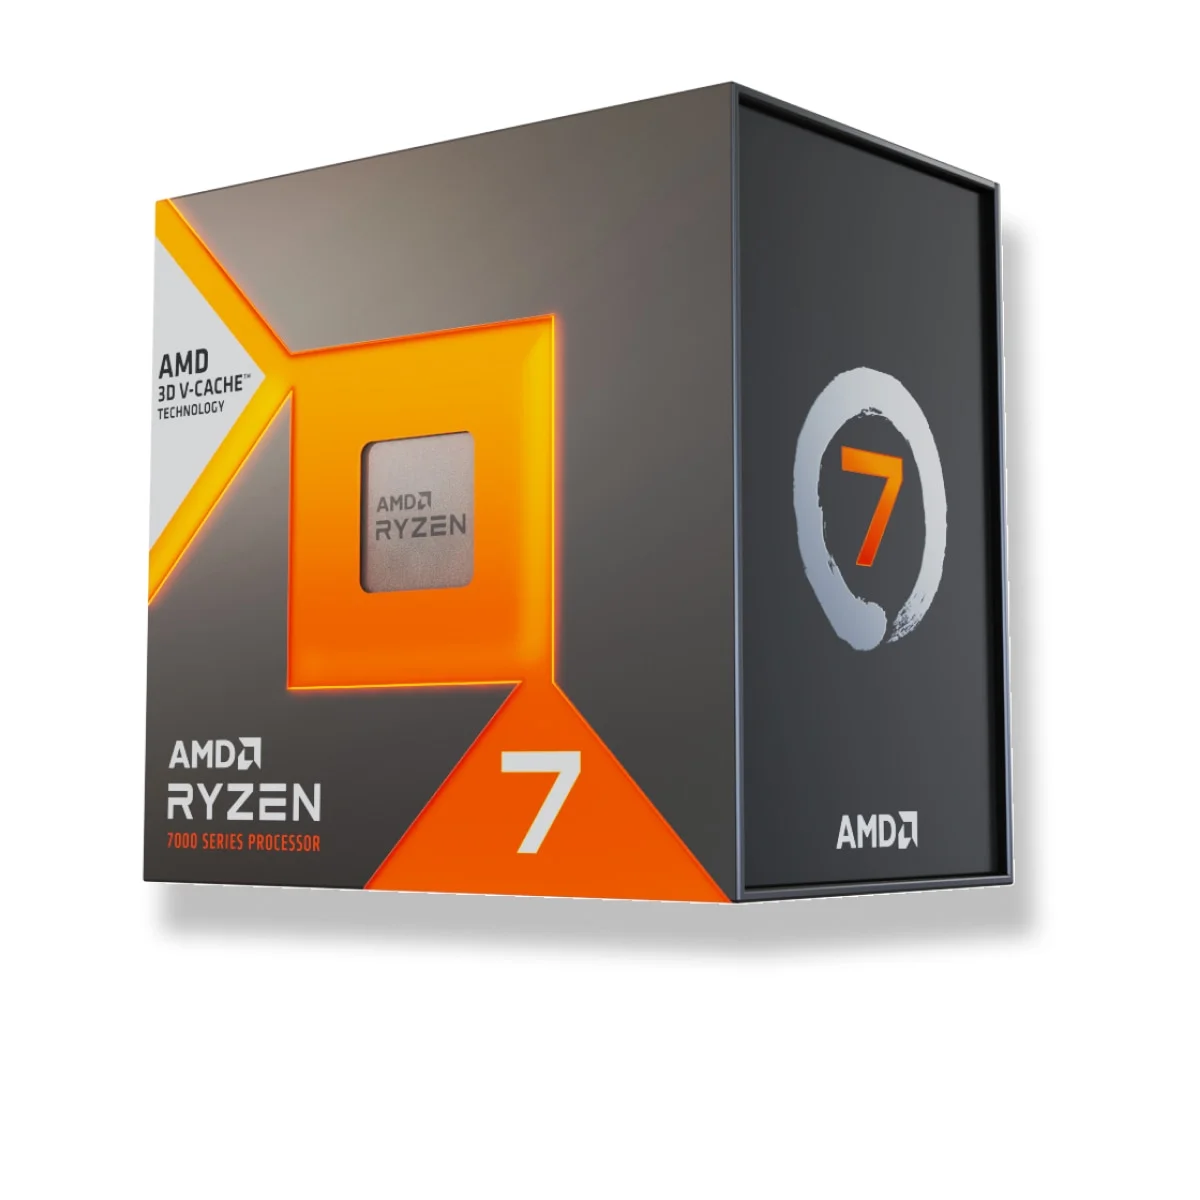
CPU and GPU The AMD Ryzen 7 7800X3D is widely considered the king of gaming CPUs in 2026 due to its 96MB of L3 cache, which significantly accelerates frame pacing. For the GPU, the Nvidia GeForce RTX 4090 remains the gold standard for 4K performance, offering 24GB of VRAM that handles modern ray-tracing textures with ease. When selecting parts, prioritize the GPU, as it dictates roughly 60 percent of your gaming performance. A common mistake is underspending on the CPU, which leads to frame drops in open-world titles.
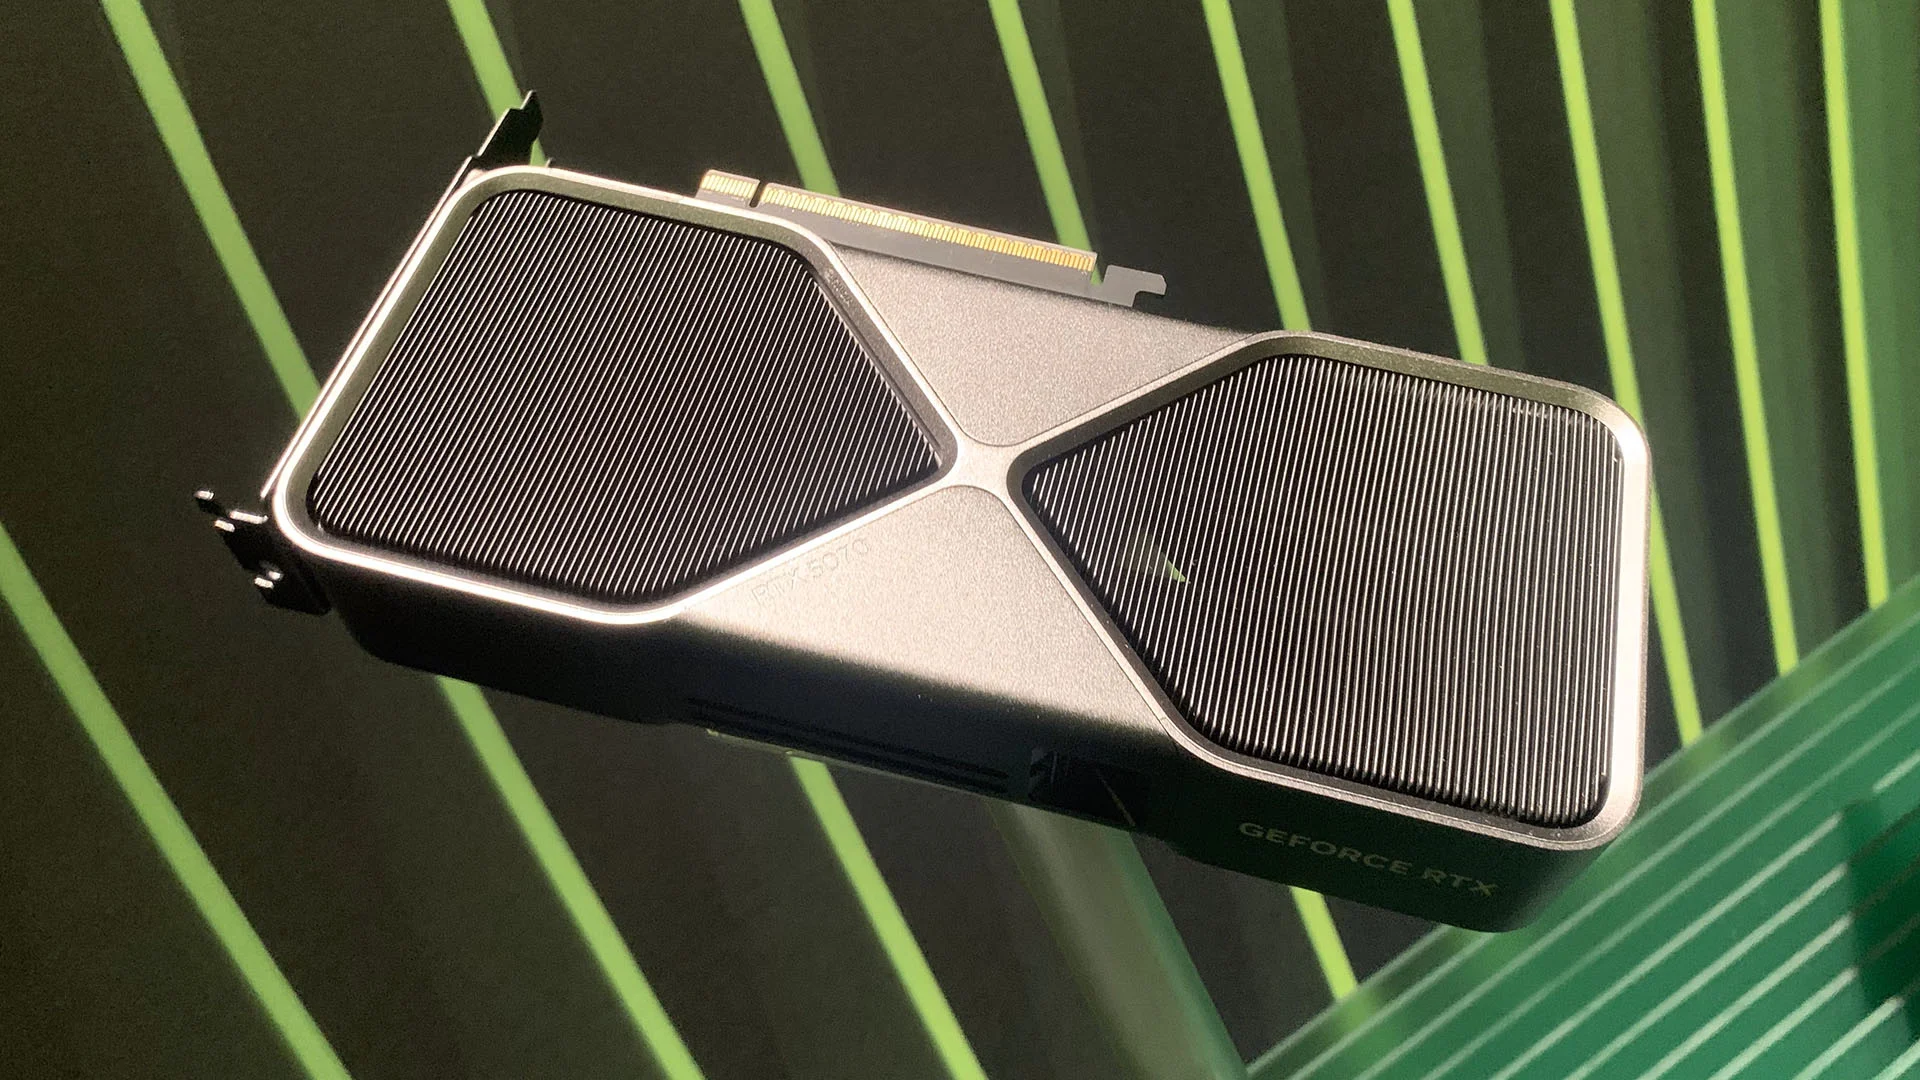
Image: NVIDIA
Memory and Storage
Standards For modern gaming rigs, DDR5 is the mandatory standard. The G.Skill Trident Z5 RGB 32GB kit running at 6400MT/s provides the necessary bandwidth for memory-hungry engines. Pair this with a 2TB Samsung 990 Pro SSD, which delivers read speeds up to 7450 MB/s. Using an SSD with these speeds reduces game load times to under 5 seconds for most modern titles compared to the 20-30 seconds required by legacy SATA SSDs.
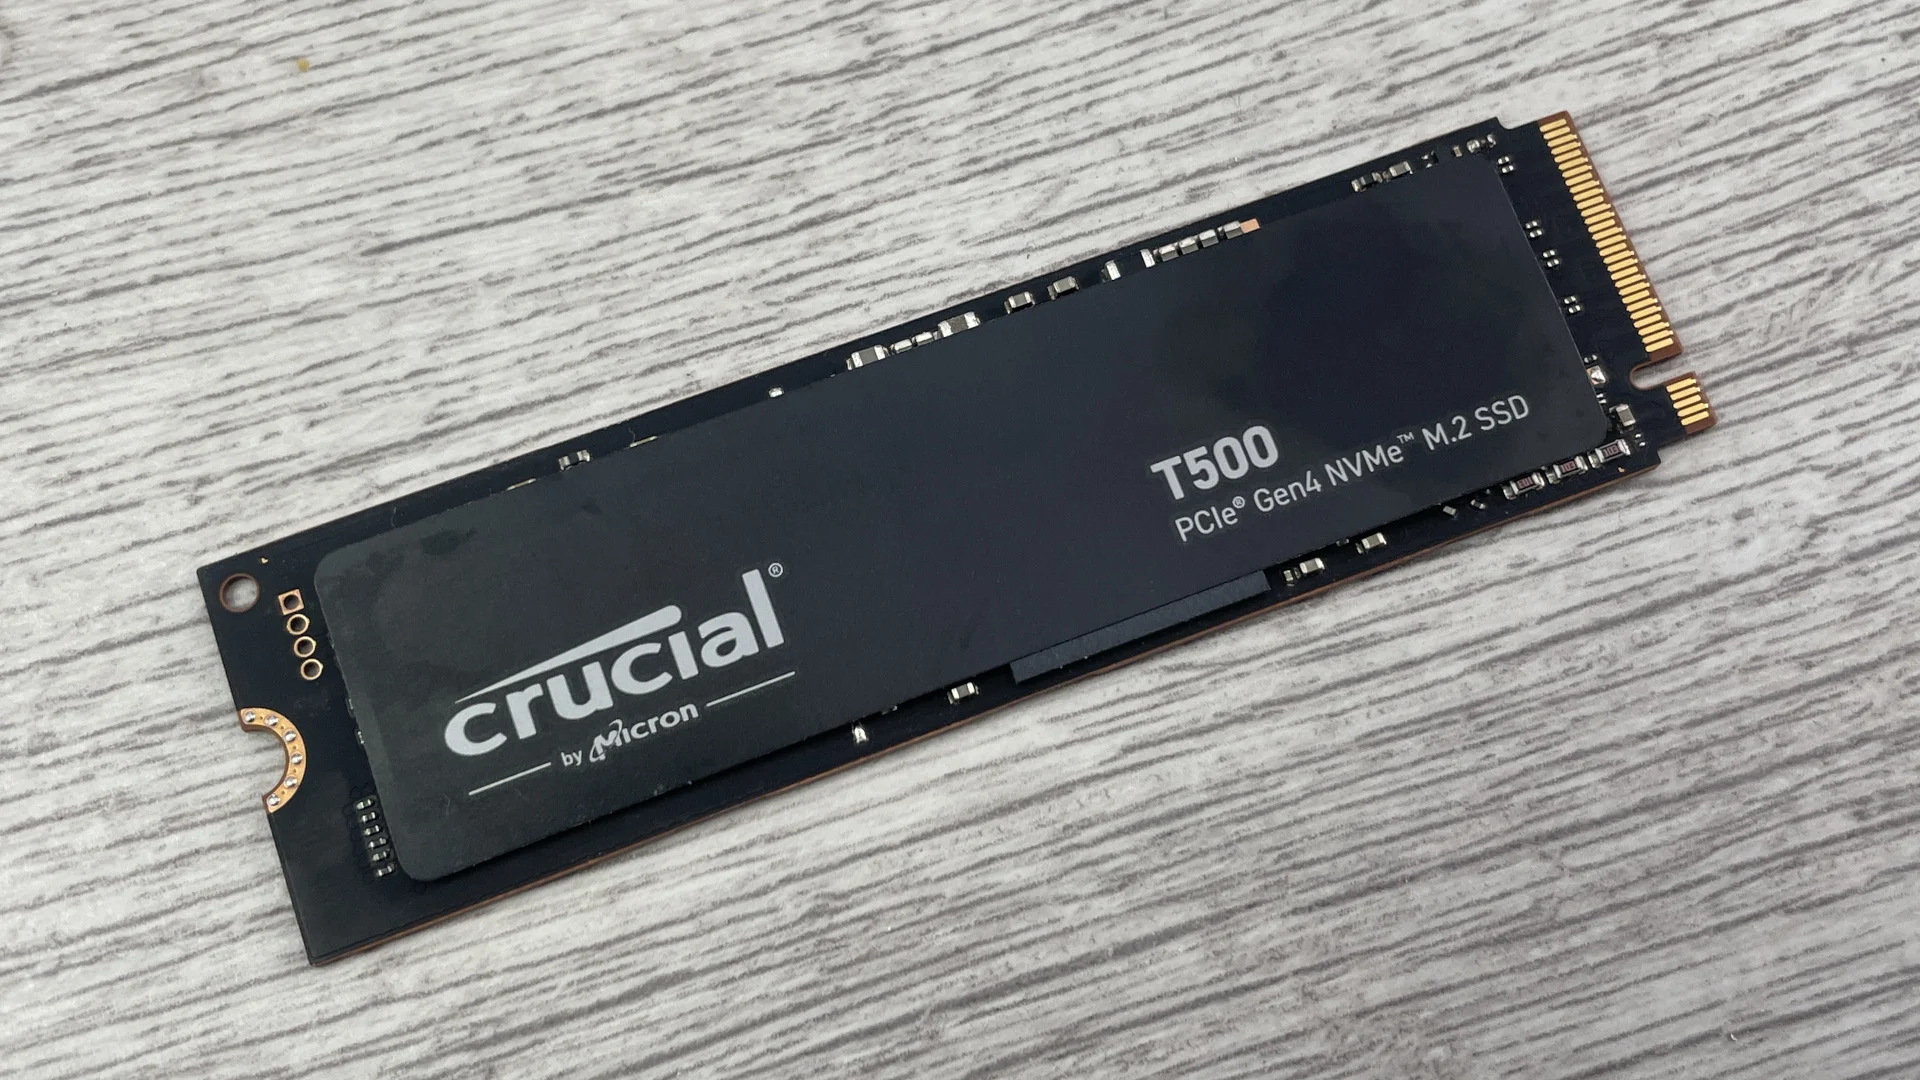
Image: Crucial
Power Supply and Cooling
A reliable power supply is the heart of your PC. The Corsair RM1000x 1000W Gold PSU provides 80 Plus Gold efficiency, ensuring that your expensive components receive clean, stable power. For cooling, the Corsair iCUE H150i Elite LCD XT is a top-tier AIO that can dissipate up to 250W of heat effectively, keeping your CPU cool during long gaming sessions. Avoid cheap power supplies, as they lack OVP (Over Voltage Protection) which can fry your components during a power surge.
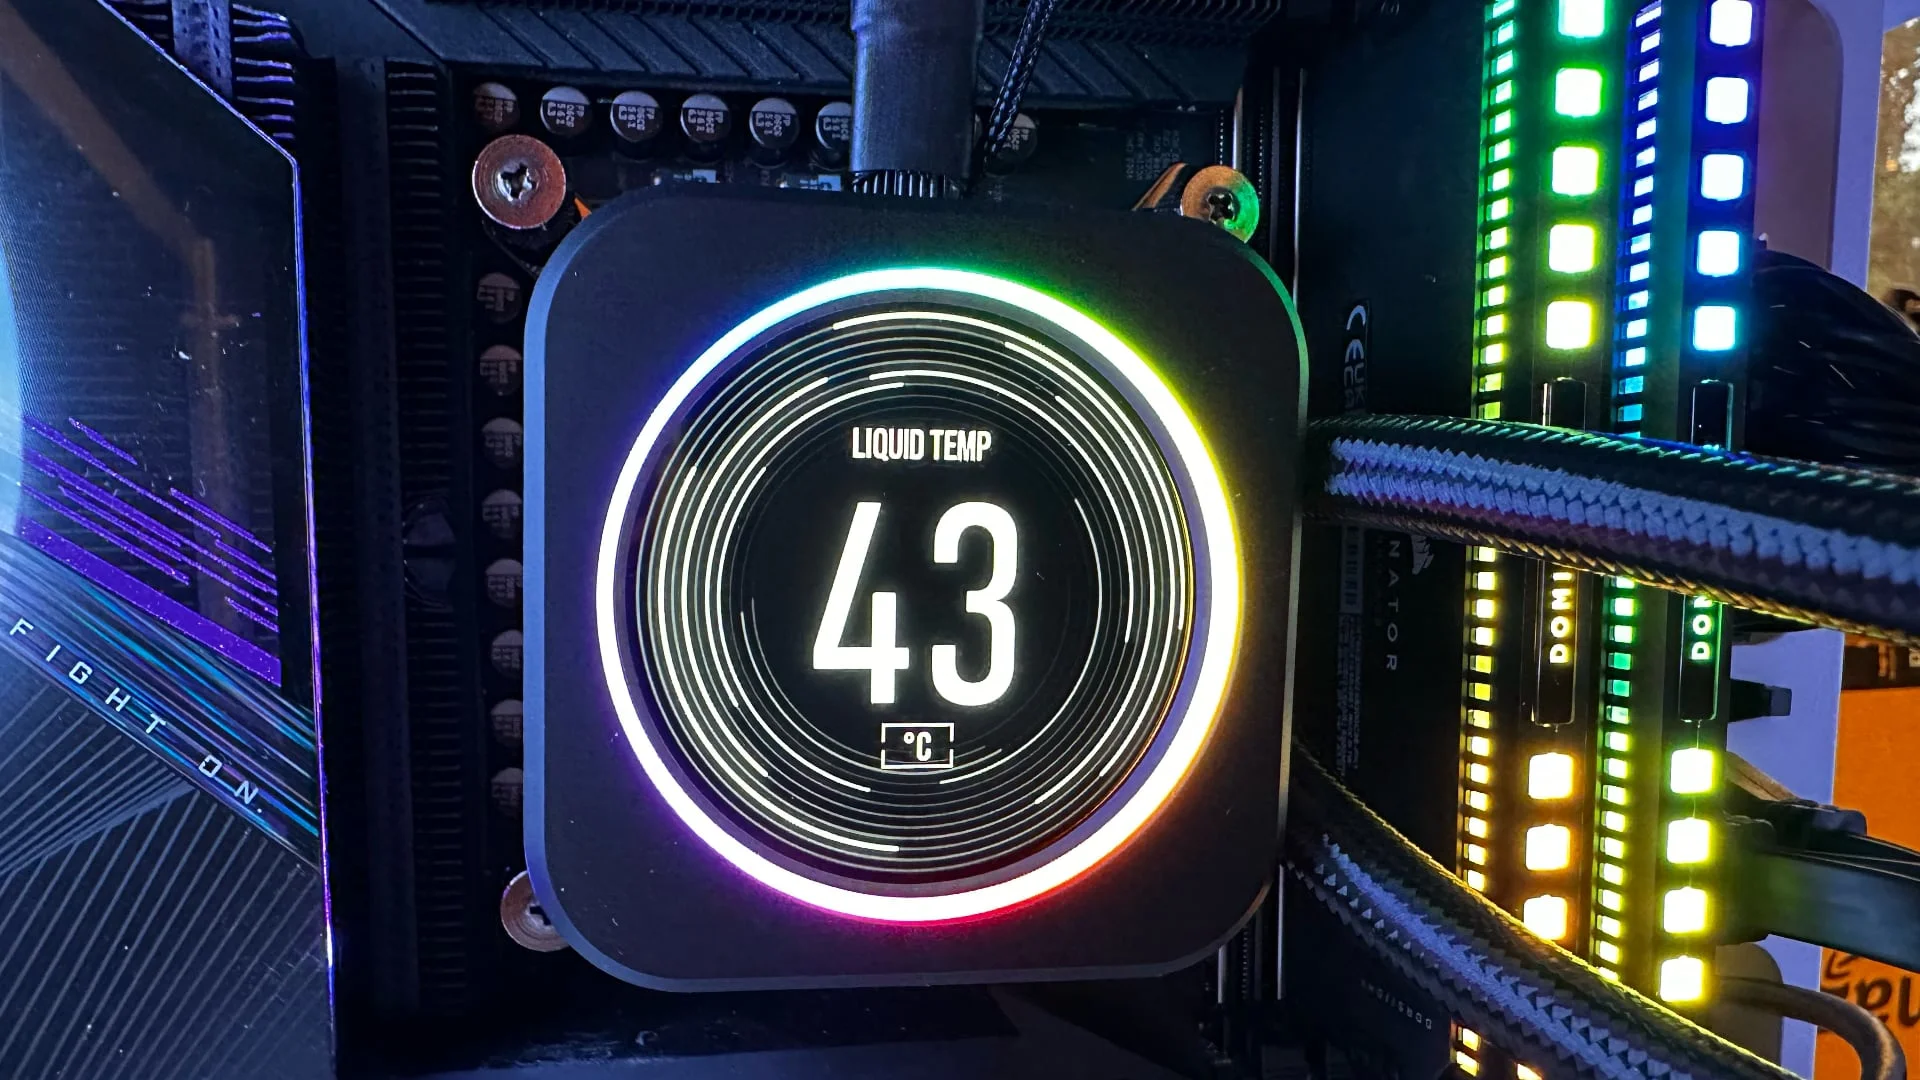
Image: Corsair
Example PC Builds
To help you get started, we’ve curated four example configurations. These lists represent balanced builds at different price points, designed to maximize value and performance.
Build 1: Best Budget Gaming
PC This build is designed for 1080p gaming at high settings. CPU: AMD Ryzen 5 7600 or Intel Core i5-13400F. GPU: Nvidia RTX 4060 or AMD Radeon RX 7600. Motherboard: B650 (AMD) or B760 (Intel). RAM: 16GB DDR5-5600MHz. Storage: 1TB Gen4 NVMe SSD. Case: Montech Air 100 or similar high-airflow budget case. PSU: 650W 80+ Bronze. Cooler: Stock cooler or budget air tower. Expected Performance: Solid 60+ FPS in AAA titles at 1080p and 144+ FPS in competitive esports titles.
Build 2: Best Mid-Range Gaming
PC Targeting 1440p gaming, this is the most popular tier. CPU: AMD Ryzen 7 7800X3D or Intel Core i7-14700K. GPU: Nvidia RTX 4070 Super or AMD Radeon RX 7900 GRE. Motherboard: Mid-range B650 or Z790. RAM: 32GB DDR5-6000MHz CL30. Storage: 2TB Gen4 NVMe SSD. Case: Corsair 4000D Airflow or Lian Li Lancool 216. PSU: 750W 80+ Gold. Cooler: 240mm AIO or Dual-Tower Air Cooler. Expected Performance: Excellent 1440p gaming with high frame rates and capable ray tracing.
Build 3: Best High-End Gaming
PC For 4K gaming and no compromises. CPU: AMD Ryzen 9 9950X or Intel Core Ultra 9. GPU: Nvidia RTX 4090 or RTX 5090 (if available). Motherboard: X870E or Z890 High-End. RAM: 64GB DDR5-6400MHz. Storage: 4TB Gen5 NVMe SSD. Case: Hyte Y70 Touch or Lian Li O11 Dynamic EVO. PSU: 1000W+ ATX 3.1 Platinum. Cooler: 360mm or 420mm High-End AIO. Expected Performance: 4K 120Hz+ gaming with maxed-out ray tracing and settings.
Build 4: Best PC for Streaming and Gaming
A hybrid build focusing on stability and multitasking. CPU: Intel Core i9 or Ryzen 9 (High core count). GPU: Nvidia RTX 4080 Super (for NVENC encoding). Motherboard: Solid Z790 or X670E. RAM: 64GB DDR5 (essential for video editing buffers). Storage: Multiple NVMe drives (one for OS/Games, one for footage). Case: Be Quiet! Silent Base 802. PSU: 850W Platinum. Cooler: 360mm AIO for quiet operation. Expected Performance: Smooth streaming at 1080p/1440p while gaming without performance loss.
How to Actually
Build the PC (Step-by-Step) Building the PC is the most exciting part. Follow this chronological guide to assemble your rig safely and efficiently.
Step 1: Prepare
Your Workspace Clear a large table. You need a Phillips head screwdriver (usually size #2) and potentially a magnetic tray for screws. Avoid building on carpet to minimize static electricity risks. Use an anti-static wrist strap if available, or periodically touch a grounded metal object like a PSU casing.
Step 2: Install the
CPU Place the motherboard on its box. Lift the retention arm (and cover if Intel). Align the golden triangle on the CPU corner with the triangle on the socket. Gently drop the CPU into place; don’t force it. Lower the retention arm to lock it in.
Step 3: Install
RAM Consult your motherboard manual to see which slots to use (usually slots 2 and 4). Open the tabs on the slots, align the notch on the RAM stick, and press down firmly until you hear a satisfying click.
Step 4: Install the
M.2 SSD Locate the M.2 slot, usually under a heat sink. Remove the heat sink, peel the plastic off the thermal pad, insert the SSD at a 45-degree angle, press it down, and secure it with the tiny screw or latch. Reinstall the heat sink.
Step 5: Install the
Motherboard in the Case Install the I/O shield into the back of the case if it’s not pre-installed on the board. Screw in the motherboard standoffs if they’re missing. Lower the board into the case, aligning it with the standoffs, and screw it down. Don’t overtighten.
Step 6: Install the
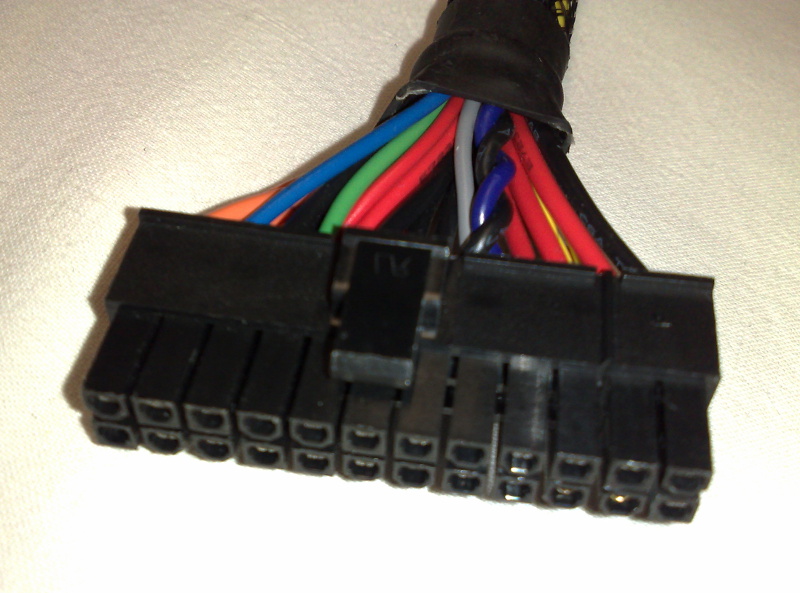
PSU Slide the power supply into the designated shroud, usually at the bottom. Screw it in from the back. Route the 24-pin motherboard cable, CPU power cable, and GPU cables to the front of the case through the grommets.
Step 7: Install the
GPU Remove the expansion slot covers on the back of the case corresponding to the top PCIe slot. Unlock the PCIe latch on the motherboard. Align the GPU and push until it clicks. Secure it with screws to the case bracket and plug in the power cables.
Step 8: Cable
Management Use zip ties or velcro straps to bundle loose cables behind the motherboard tray. This is not just for aesthetics; clear cable paths improve airflow inside the main chamber.
Step 9: First Boot and BIOS Setup
Plug in your monitor (to the GPU, not the motherboard!) and peripherals. Turn on the PSU switch and press the power button. Mash the Delete key to enter BIOS. Enable XMP or EXPO to get your RAM running at full speed and set your boot priority to your installation media.
Step 10: Install Windows and Drivers
Insert your Windows USB installer. Follow the prompts to install the OS on your NVMe drive. Once in Windows, download the latest GPU drivers from Nvidia or AMD, and chipset drivers from your motherboard manufacturer’s website.
Common Mistakes to
Avoid Even experienced builders make mistakes. Common pitfalls include buying a cheap, non-rated PSU which risks fire, or forgetting to remove the plastic ‘remove before use’ sticker from the CPU cooler base, leading to instant overheating. Another frequent error is plugging the monitor into the motherboard HDMI port instead of the graphics card, which results in the PC using the weak integrated graphics. Always check motherboard compatibility, especially regarding CPU generations and RAM types (DDR4 vs DDR5).
Upgrade Paths for the Future One of the best parts of this Gaming
PC Builds Guide is the focus on longevity. When your PC starts to feel slow in a few years, you don’t need a whole new machine. The GPU is usually the first thing to upgrade for more gaming power. If you multitask heavily, adding another 32GB of RAM is easy. You can also add more NVMe storage as game libraries grow. If you bought a high-quality PSU initially, it should support next-generation graphics cards without needing replacement.
Comparison | Tier | CPU Recommendation | GPU Recommendation | Est. Budget |
| Budget | Intel Core i5-14400F | Nvidia RTX 4060 | $900 |
|---|---|---|---|
| Mid-Range | AMD Ryzen 7 7800X3D | Nvidia RTX 4070 Super | $1,600 |
| High-End | Intel Core i9-14900K | Nvidia RTX 4090 | $3,500 |
Frequently Asked Questions
What's the best Gaming PC Builds Guide strategy for 2026?
Focus on a balanced architecture where your CPU doesn't bottleneck your GPU. For 1440p gaming, pair an [AMD Ryzen 7](/articles/amd-ryzen-7-7800x3d-review-2026-is-this-the-best-gaming-cpu-for-1080p-1440p-and-/) 7800X3D with an Nvidia RTX 4070 Super to achieve stable frame rates above 144 FPS.
Is 32GB of RAM enough for a high-end gaming PC in 2026?
Yes, 32GB of [DDR5 RAM](https://www.jedec.org/standards-documents/docs/jesd79-5b) at 6000MT/s is the current sweet spot for gaming and multitasking. Anything less may cause stuttering in memory-intensive titles like Star Citizen or Cities Skylines II.
Do I need Gen5 NVMe storage for my gaming PC?
For pure gaming, Gen4 NVMe drives like the Samsung 990 Pro offer imperceptible load time differences compared to Gen5 drives. Save your budget for a better GPU unless you handle massive 8K video files.
Is it cheaper to build or buy a gaming PC?
Generally, building is cheaper and offers better quality parts for the money. Pre-built systems often include marketing markups and sub-par PSUs. Building yourself typically saves 20-30 percent on hardware costs.
Should beginners avoid liquid cooling?
Not necessarily. AIO coolers are easy to install, but air coolers are simpler and fail-proof. For most mid-range builds, a quality dual-tower air cooler is perfectly adequate and less expensive.