Introduction
Building a custom PC is a journey of choices, but few decisions define the identity of your rig quite like the chassis. The case dictates not just the aesthetic of your setup, but its cooling potential, component compatibility, and footprint on your desk. With options ranging from monolithic towers to shoebox-sized consoles, navigating the market can be daunting. This PC case size guide is designed to demystify the form factors and help you find the sweet spot between performance and practicality. Whether you’re planning a massive water-cooled workstation or a stealthy living room console, understanding the nuances of PC case size comparison is the first step. We’ll break down exactly what’s the difference between ATX, Micro-ATX, and Mini-ITX, and provide a clear roadmap on how to choose PC case size for your specific needs.

Understanding
Form Factors: The Big Three Before measuring your desk space, you must understand the motherboard standards that dictate case sizes. The three primary form factors—ATX, Micro-ATX, and Mini-ITX—are the foundation of your build. 1. ATX (Standard Mid-Tower): The standard for most gaming PCs. ATX cases support full-sized motherboards with up to 7 PCIe expansion slots. They offer the most space for airflow, cable management, and large components like triple-fan GPUs.
2. Micro-ATX (mATX): A middle-ground option. These cases are shorter than ATX towers because the motherboards remove the bottom few expansion slots (usually offering 4). They’re often cheaper and more compact without sacrificing core performance. 3. Mini-ITX (SFF): The smallest standard. These cases support tiny motherboards with only one PCIe slot (for the GPU). Building in them requires careful planning regarding airflow and component dimensions, but they allow for incredibly portable and space-efficient designs.
Choosing the
Right Components for Your Case Size Your PC case size guide isn’t just about the box itself; it’s about what goes inside. A common pitfall is buying components that physically won’t fit.
-
Motherboard: This is the hard limit. You can’t fit an ATX motherboard into a Micro-ATX or Mini-ITX case. However, you can usually fit a smaller motherboard into a larger case (e.g., a Micro-ATX board in an ATX case), though it might look odd with empty space.
-
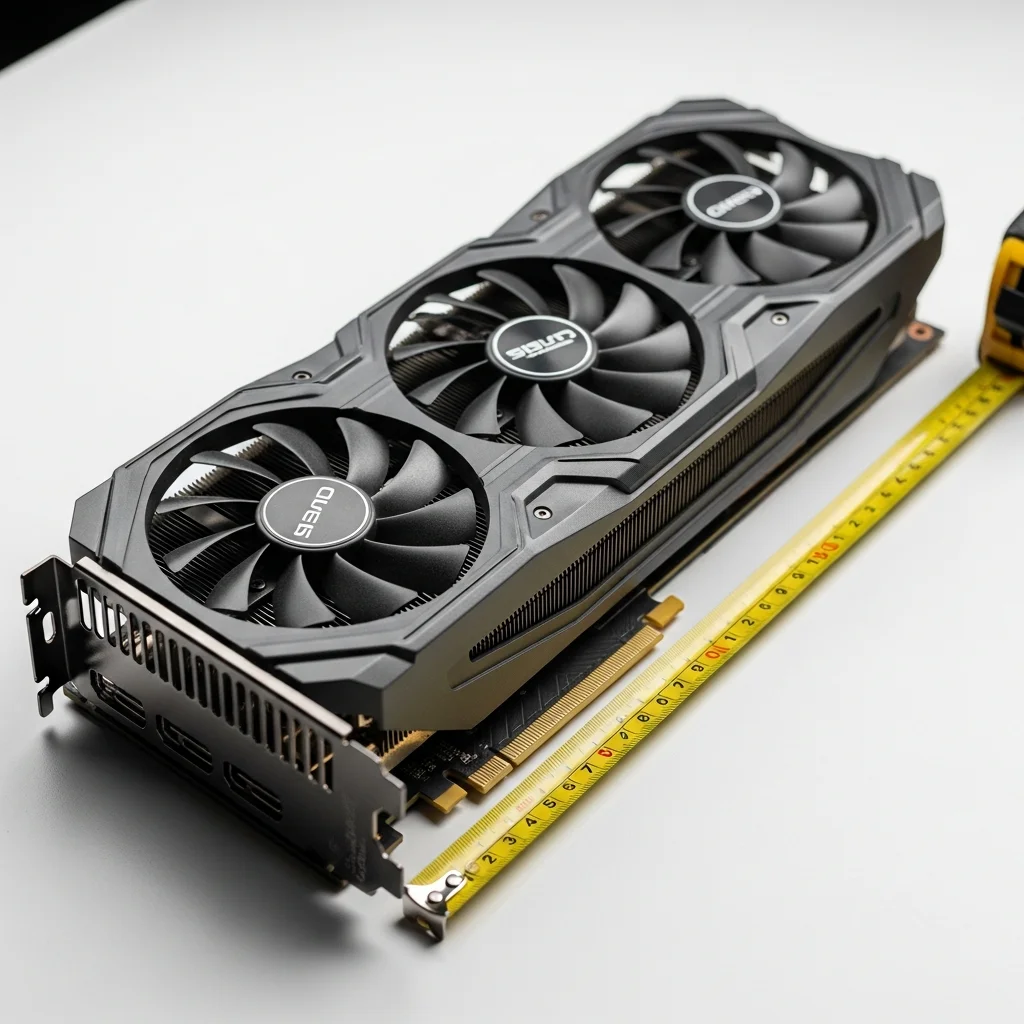
GPU Length: This is often the biggest restriction in smaller cases. High-end cards like the RTX 4090 are massive bricks. Always check the ‘Max GPU Length’ specification of the case against your card’s length.
-
CPU Cooler Height: Narrow cases may not have the depth to fit tall tower air coolers (like the Noctua NH-D15). If choosing a smaller case, ensure you check the ‘Max CPU Cooler Height’ or opt for an AIO liquid cooler.
-
Power Supply (PSU): While ATX cases take standard ATX PSUs, Mini-ITX cases often require smaller SFX or SFX-L power supplies, which can be more expensive.

ATX Case: The Safe Bet for Performance
If you’re asking how to choose PC case size for a high-performance, no-compromise build, ATX is usually the answer. These ‘Mid-Tower’ or ‘Full-Tower’ chassis provide ample room for airflow, which is critical for cooling high-wattage components. They’re the easiest to build in because you have plenty of space for your hands and cable management. For beginners, an ATX case is highly recommended. It allows for future expansion—adding sound cards, capture cards, or more storage drives is rarely an issue. However, they’re bulky and heavy, dominating desk space.
Micro-ATX: The
Budget-Friendly Sweet Spot Micro-ATX (mATX) is often the unsung hero of PC case size comparison. It strikes a balance that’s perfect for the average gamer. Since mATX motherboards and cases require less material to manufacture, they’re often cheaper than their ATX or ITX counterparts. You lose the extra PCIe slots found on ATX boards, but since most gamers only use one slot for the graphics card, this loss is negligible. An mATX case is noticeably shorter than a standard tower, making it easier to fit under a desk or on a shelf, while still usually supporting standard ATX power supplies and decent air coolers.
Mini-ITX: High
Difficulty, High Reward Mini-ITX builds, often called Small Form Factor (SFF) PCs, are for enthusiasts who value aesthetics and space-saving above all else. These cases can be as small as a shoebox (under 10-15 liters). What’s the difference between ATX, Micro-ATX, and Mini-ITX regarding difficulty? Mini-ITX is significantly harder. You must carefully plan every millimeter. Cable management is challenging, and airflow can be restricted, leading to higher temperatures or fan noise if not optimized. However, a well-built ITX rig is a marvel of engineering that looks incredible on a minimalist desk.
Airflow and Cooling
Dynamics The size of your case directly influences thermal performance.
-
Large Cases (ATX): Generally have ‘lazy’ airflow requirements. You can achieve good cooling with slow-spinning fans because there’s a large volume of air inside. Heat doesn’t get trapped easily.
-
Small Cases (ITX): often rely on negative pressure or specialized airflow paths (like sandwich layouts). Heat density is high, meaning fans might need to spin faster (and louder) to exhaust hot air quickly. When consulting a PC case size guide, remember that a larger case is generally quieter and cooler, while a smaller case fights thermodynamics and requires higher-quality fans and coolers to compensate.
Example Use
Cases The Competitor (ATX): You want maximum FPS, an RTX 4090, and the coolest temperatures. You don’t care about size; you care about raw power. Go ATX. The Student / Value Gamer (Micro-ATX): You’re on a budget and want to spend money on the GPU, not the metal box. You want a PC that fits in a dorm room but doesn’t overheat. MATX is your winner. The Minimalist / Traveler (Mini-ITX): You move frequently or hate visual clutter. You’re willing to pay a premium for specialized parts (SFX PSU, ITX motherboard) to have a sleek, console-sized computer on your desk.
Common Mistakes to
Avoid 1. Ignoring GPU Clearance: Buying a case that fits ‘up to 300mm GPUs’ and a GPU that’s 310mm long is the most common error. 2. Mismatched Motherboards: Buying a Mini-ITX case and trying to stuff a Micro-ATX board inside. It simply won’t fit physically.
- Radiator Clearance: Assuming a case supports a 360mm liquid cooler just because it’s ‘ATX’. Many compact ATX cases only fit 240mm radiators.
- Cable Management Space: Cheap cases often lack space behind the motherboard tray, making the build look messy and impeding airflow.
- Front Panel Airflow: Choosing a case with a solid glass front panel. Regardless of size, if the fans can’t breathe, your PC will overheat. Always prioritize mesh front panels.
Final Thoughts: Which
Size Fits You? Ultimately, how to choose PC case size comes down to a tradeoff between expansion and footprint. For 90% of gamers, Micro-ATX or a compact ATX Mid-Tower offers the best blend of price, performance, and ease of building. Mini-ITX remains a premium niche for those who know exactly what they want. Use this PC case size guide to verify your component dimensions, visualize your desk setup, and select a chassis that you’ll be happy looking at for the next five years. Remember, the case is the one component that can outlast several generations of processor upgrades, so choose wisely.
Frequently Asked Questions Can I put a small motherboard in a large case?
Yes, you can put a Micro-ATX or Mini-ITX motherboard into a standard ATX case. You just need to move the mounting standoffs. It will work perfectly, though it may look a bit empty aesthetically. Does case size affect gaming performance? Indirectly, yes. If a case is too small and lacks airflow, components like the GPU and CPU will thermal throttle (slow down) to prevent overheating, reducing your FPS. Is Mini-ITX more expensive? Yes. Mini-ITX motherboards and compatible SFX power supplies typically carry a ‘shrink tax,’ costing 20-30% more than their standard equivalents. What’s the easiest case size for beginners? Standard ATX Mid-Tower is the easiest. It offers the most room to work with your hands, route cables, and troubleshoot components without removing other parts.