When you purchase through links on our site, we may earn an affiliate commission. This helps support our work and allows us to continue delivering in-depth, unbiased gaming coverage.
Introduction
Building your own computer remains the most effective way to maximize value and performance in 2026. With the release of highly efficient processors like the AMD Ryzen 5 7600X3D, gamers no longer need to spend a fortune to achieve high frame rates. This guide serves as your comprehensive 7600X3D PC build guide, walking you through every step of the process. Iming for competitive esports dominance or immersive 1440p gaming, choosing your own components allows for better cooling, higher quality power supplies, and a clear upgrade path that pre-built systems simply can’t match. By the end of this article, you’ll have a deep understanding of how to build a PC with AMD Ryzen 5 7600X3D and other top-tier components to suit your specific budget and gaming needs.
Before You Start: Define
Your Goals Before purchasing a single component, it’s crucial to define exactly what you need from your new machine. A mismatch between your hardware and your goals can lead to wasted money or disappointing performance. We categorize builds based on the type of gamer you’re and the resolution you intend to play at.
What Type of
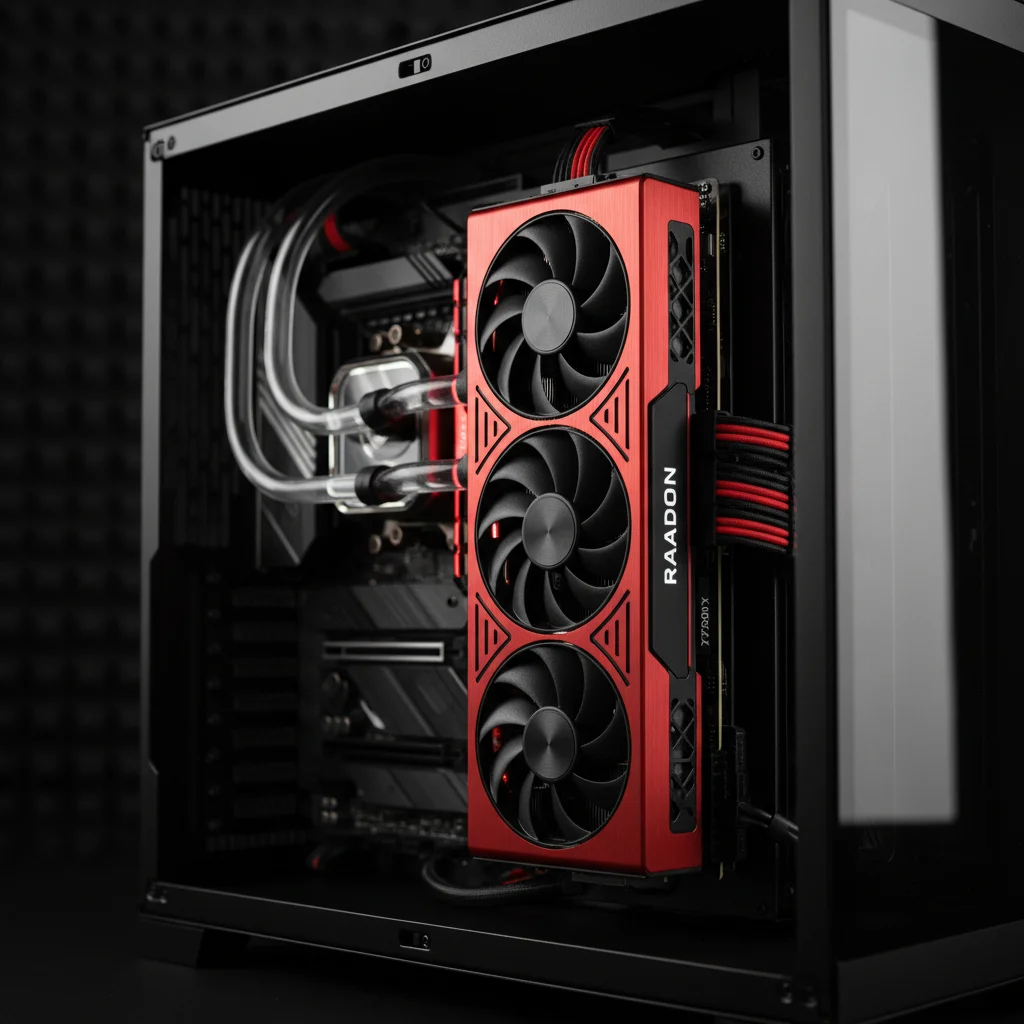
Gamer Are You? Esports and competitive players prioritize frame rates above all else, often sacrificing visual fidelity for the lowest possible latency. For these users, a strong CPU is critical. AAA high-resolution gamers, on the other hand, want visual splendor, requiring a powerful GPU to handle textures and ray tracing. Casual gamers need a balanced system that offers reliability without breaking the bank. Finally, Streamers and YouTubers require a system capable of multitasking, necessitating extra RAM and a processor with higher core counts or a GPU with a dedicated encoder.
What’s Your Resolution & Refresh
Rate? Your monitor dictates your hardware requirements. 1080p gaming is less demanding on the GPU but can be bottlenecked by the CPU, making the 7600X3D an excellent choice. 1440p is the current sweet spot for PC gaming, offering a balance of sharpness and performance. 4K resolution remains the most demanding, shifting the load almost entirely to the graphics card. Also, aiming for 60Hz requires far less power than pushing for 144Hz, 240Hz, or the bleeding-edge 360Hz displays used by pros.

Budget Planning
Setting a realistic budget is the first step in our budget-friendly PC build guide 2025. Entry-level builds typically range from $600 to $800, capable of solid 1080p performance. The mid-range sweet spot, where the 7600X3D shines, usually sits between $1,000 and $1,400. High-end enthusiast builds can easily exceed $2,500. Knowing your limit helps you allocate funds effectively, prioritizing the GPU and CPU where it matters most.
Choosing the
Right Components Understanding the role of each part is essential for a balanced build. Here’s a deep dive into selecting the right hardware for your 7600X3D pc build guide.
CPU (Central
Processing Unit) The CPU is the brain of your PC. For gaming, single-core performance and clock speeds are often more important than raw core counts. However, AMD’s 3D V-Cache technology, found in the Ryzen 5 7600X3D, revolutionizes this by stacking extra cache on the processor, significantly boosting gaming performance in CPU-bound titles. When choosing a CPU, consider whether you need pure gaming power or multitasking capabilities for streaming.
GPU (Graphics
Processing Unit) The GPU is the most expensive and impactful component for gaming performance. You must consider VRAM capacity; 8GB is the minimum for modern gaming, but 12GB or 16GB is recommended for 1440p and 4K textures. Nvidia cards generally offer superior ray tracing and DLSS upscaling features, while AMD cards often provide better raw rasterization performance per dollar. Your choice here defines your resolution limits.
Motherboard
The motherboard connects everything. Key factors include the chipset (B650 is usually sufficient for most Ryzen users, while X670 offers more lanes), VRM quality which dictates power stability for the CPU, and connectivity options like USB-C and WiFi. Ensure the board supports PCIe Gen 4 or Gen 5 for future graphics cards and storage upgrades.
RAM (Random
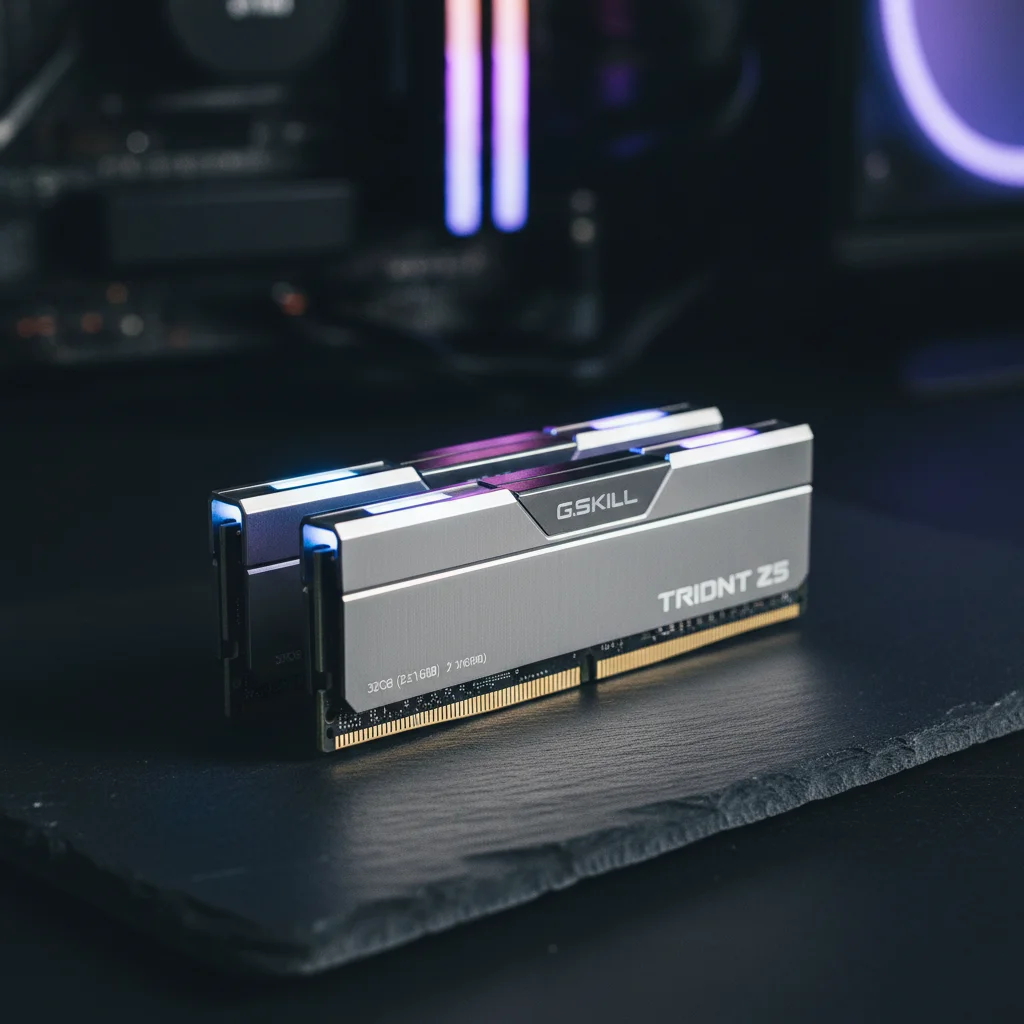
Access Memory) For a modern build, 32GB is becoming the new standard, though 16GB remains viable for strict budgets. Speed matters significantly; for DDR5 systems, 6000MHz CL30 is considered the sweet spot for stability and performance. Low latency ensures snappy responsiveness in fast-paced games.
Storage
Mechanical HDDs are obsolete for running operating systems or modern games. You need an NVMe SSD. Gen 4 drives offer incredible speeds, reducing load times to seconds. A 1TB drive is the baseline recommendation, but with game sizes increasing, 2TB is a safer long-term investment.
Power Supply (PSU)
Never skimp on the PSU. It protects your expensive parts. Look for 80+ Gold efficiency ratings and reputable brands. Calculate your total system wattage and add 20% headroom. For a mid-range build, 750W is a versatile choice that allows for future GPU upgrades without needing to replace the power unit.
Case & Airflow
Your case determines the thermal performance of your rig. Look for a chassis with a mesh front panel to allow cool air intake. Proper airflow management involves intake fans at the front and exhaust fans at the rear and top to cycle hot air out, keeping your components running at peak boost clocks.
Cooling
Keeping your CPU cool is vital for longevity and performance. While the 7600X3D is efficient, a decent air cooler or a 240mm AIO liquid cooler ensures it boosts to its maximum potential without thermal throttling. Liquid cooling offers aesthetic benefits and often lower noise levels, but high-end air coolers are reliable and cost-effective.
Example PC Builds
Below are specific configurations designed to maximize value and performance. Our primary focus is the 7600X3D setup, which represents the best value for gamers in 2026.
Build 1: The 7600X3D Value King (Best Mid-Range Gaming
PC) This build focuses on the keyword topic: Performance benchmark the AMD Ryzen 5 7600X3D optimization. Parts List:
CPU: Ryzen 5 7600X3D (6-Core w/ 3D V-Cache) GPU: AMD Radeon RX 7800 XT or NVIDIA RTX 4070 Super Motherboard: MSI B650 Gaming Plus WiFi RAM: 32GB DDR5-6000MHz CL30 Storage: 2TB WD Black SN770 NVMe SSD Case: Corsair 4000D Airflow PSU: Corsair RM750e 750W 80+ Gold Cooler: Thermalright Peerless Assassin 120 SE Expected Performance: 1080p High: 144+ FPS in competitive titles. 1440p Ultra: 80-100 FPS in AAA titles. This configuration balances the incredible cache speed of the CPU with a GPU capable of driving high resolutions.
Build 2: Best Budget Gaming PC Parts List:
CPU: AMD Ryzen 5 7600 (Non-X3D) GPU: AMD Radeon RX 7600 Motherboard: ASRock B650M-HDV RAM: 16GB DDR5-5200MHz Storage: 1TB Kingston NV2 SSD Case: DeepCool CC560 PSU: 650W 80+ Bronze Cooler: Stock Wraith Stealth Cooler Expected Performance: 1080p High: 60+ FPS consistent in modern titles. Esports: 120+ FPS. A solid entry point that gets you onto the AM5 platform for future upgrades.
Build 3: Best High-End Gaming PC Parts List:
CPU: AMD Ryzen 7 7800X3D or Ryzen 9 7950X3D GPU: NVIDIA GeForce RTX 4080 Super Motherboard: ASUS ROG Strix B650E-F RAM: 64GB DDR5-6000MHz CL30 Storage: 2TB Samsung 990 Pro Gen 4 Case: Lian Li O11 Dynamic Evo PSU: 850W 80+ Gold ATX 3.0 Cooler: 360mm AIO Liquid Cooler Expected Performance: 4K Gaming: 60-90 FPS native. 1440p High Refresh: 165+ FPS. For those who want zero compromises on visual settings.
How to Actually
Build the PC (Step-by-Step) Now that you have your parts, it’s time to assemble. Follow this logical flow to ensure a smooth build process.
Step 1: Prepare
Your Workspace Clear a large table. You’ll need a Phillips head screwdriver. Avoid building on carpet to minimize static electricity risks. Use an anti-static wrist strap if available, or periodically touch a metal object to ground yourself.
Step 2: Install the
CPU Unlock the retention arm on the motherboard socket. Align the golden triangle on the corner of the Ryzen CPU with the triangle on the socket. Gently drop it into place without forcing it. Lower the retention arm to lock it in.
Step 3: Install
RAM Consult your motherboard manual for the correct slots, usually the 2nd and 4th from the CPU. Open the clips, align the notch on the stick, and press down firmly until you hear a satisfying click.
Step 4: Install the
M.2 SSD Locate the M.2 slot. Remove the heat sink if present. Insert the SSD at a 30-degree angle, press it down, and secure it with the tiny screw or latch provided. Peel the plastic off the thermal pad on the heat sink before reinstalling it.
Step 5: Install the
Motherboard in the Case Install the I/O shield if it’s not pre-installed. Lay the case flat and ensure the standoffs match your motherboard size. Place the board inside and screw it down, tightening just until snug. Don’t overtighten.
Step 6: Install the
PSU Slide the power supply into its designated bracket, usually at the bottom rear. Screw it in from the back. Route the 24-pin motherboard cable and the 8-pin CPU cable through the back of the case to their respective ports.
Step 7: Install the
GPU Remove the expansion slot covers on the back of the case. Open the PCIe slot latch. Align the GPU and push until it clicks. Screw the bracket into the case chassis to support the weight. Connect the PCIe power cables from the PSU.
Step 8: Cable
Management Pull excess cable slack to the back of the case. Use zip ties or velcro straps to bundle cables together. Good cable management improves airflow and aesthetics.
Step 9: First Boot & BIOS Setup
Connect your monitor to the GPU, not the motherboard. Power on. Press the Delete key to enter BIOS. Enable EXPO or XMP profiles to get your RAM running at full speed. Check CPU temperatures to ensure the cooler is mounted correctly.
Step 10: Install Windows + Drivers
Insert your Windows installation USB. Follow the prompts. Once in Windows, download the latest chipset drivers from AMD and graphics drivers from NVIDIA or AMD to ensure optimal stability.
Common Mistakes to
Avoid One frequent error is plugging the monitor into the motherboard HDMI port instead of the graphics card, rendering the GPU useless. Another is failing to remove the plastic sticker from the bottom of the CPU cooler, causing instant overheating. Always verify that your power supply cables are fully seated at both ends, as loose connections can prevent booting. Finally, don’t mix RAM kits from different brands, as this causes instability.
Upgrade Paths for the
Future The beauty of this 7600X3D pc build guide is the upgrade path. The AM5 platform will support new CPU generations for years. You can eventually swap the 7600X3D for a future Ryzen 9. Your DDR5 RAM can be doubled to 64GB if apps demand it. The power supply we recommended has enough headroom to handle a more powerful GPU down the line, extending the life of your investment.
Frequently Asked
Questions Is it cheaper to build or buy a gaming PC? Generally, building is cheaper and uses higher quality parts. How much RAM do I really need? For 2026 gaming, 32GB is the recommendation, though 16GB is the bare minimum. Can I upgrade to a stronger GPU later? Yes, as long as your PSU wattage supports it. Should beginners avoid liquid cooling? Not necessarily; AIO coolers are easy to install, though air coolers are simpler and fail-proof. Is DDR5 worth it right now? Absolutely; it’s the standard for the AM5 platform and provides essential bandwidth for modern CPUs.
Final Thoughts
Building your own rig is a rewarding experience that pays dividends in performance and knowledge. Our 7600X3D pc build guide demonstrates that you don’t need an unlimited budget to achieve elite gaming performance. The Ryzen 5 7600X3D sits in the perfect sweet spot, offering near-flagship gaming speeds at a mid-range price. By following this guide, you have chosen high-quality, compatible parts that will serve you well into the future. Take your time with the assembly, double-check your connections, and enjoy the high frame rates of your new custom machine.