When you purchase through links on our site, we may earn an affiliate commission.
What We Like
- Hot-swapping allows instant custom tuning without soldering tools
- Factory pre-lubed switches eliminate scratchiness and spring ping
- 5-pin designs deliver superior switch stability on plate-less builds
- Massive variety of actuation forces and sound profiles to fit any setup
What Could Be Better
- Soldered PCBs require tedious desoldering equipment to swap switches
- North-facing PCBs can cause keycap interference with Cherry profile caps
- Incompatible optical and magnetic switch standards create buyer confusion
Ultimate Buying Guide: How to Choose the Best Mechanical Keyboard Switches in 2026
Look, replacing your keyboard switches is the single best upgrade you can make to your gaming setup without buying a whole new desk rig. Seriously. Most prebuilt boards ship with basic, scratchy linear options or high-pitched clicky stems. They annoy everyone on Discord. When you learn how to replace mechanical keyboard switches, you gain total control over key feel, sound profile, and actuation speed. In this Best Mechanical Keyboard Switches Buying Guide, we outline a clear decision framework. We base it on published specs, pin compatibility, actuation curves, and physical construction. No vendor hype here. Switching stems isn’t complicated once you know what to look for on a spec sheet.
 Image: representative product (Keychron)
Who Is This Guide For?
This guide’s for gamers and typists who crave concrete hardware facts, not marketing fluff. Competitive FPS players, for instance, need fast, low-resistance actuation points. We’re talking 1.2mm to 1.5mm. This cuts down input latency during tight fights. Budget buyers want reliable options under forty cents per switch that don’t sound like a plastic bag tearing. Streamers need quiet, pre-lubed silent switches; they won’t clip hypercardioid microphone filters mid-broadcast. So, whether you’re upgrading an entry-level hotswap board or tuning a heavy custom aluminum deck, we’ll map out what features actually drive performance. We’ll also tell you what specs you can safely ignore. You don’t need an engineering degree to pick the right mechanical stems, but you do need to understand how spring weight, housing materials, and stem travel affect your daily typing comfort.
Switch Fundamentals: Linear vs Tactile vs Clicky
Every mechanical switch lands in one of three distinct feel categories: linear, tactile, or clicky. Linear switches offer smooth, continuous travel from top to bottom. No physical bump. No tactile interruption. They’re the standard for fast-paced titles like Valorant; rapid key presses feel effortless and fluid. Tactile switches feature a physical bump along the travel path. Your fingertips register actuation before hitting the bottom plate. Clicky switches? They use a click jacket or click bar to emit an audible snap at the exact actuation point. Honestly, clicky switches are loud. They’re disruptive. Roommates usually hate them. That said, some typists absolutely love the crisp feedback. Choosing between these three boils down to personal tactile preferences, noise tolerance, and your desktop environment.
 Image: representative product (Razer)
Performance & Specifications: Actuation Force, Travel, and Speed
Spec sheets are packed with figures. But only three force measurements genuinely dictate how a switch performs on your desk. Operating force, measured in grams or centinewtons, defines how much force you need to register a keypress. Standard gaming linears hover around 45g. Heavy tactile switches hit 62g or higher. Pre-travel measures the distance the stem travels before activating the circuit. It typically ranges between 1.2mm for speed switches and 2.0mm for standard options. Total travel distance dictates where the stem hits the bottom housing, usually between 3.3mm and 4.0mm. Here’s the thing: shorter pre-travel reduces physical actuation delay. However, ultra-light springs often cause accidental misclicks during passive hand placement. That’s a real pain in a competitive match. Balancing actuation distance and spring weight prevents finger fatigue during six-hour gaming marathons. So, pay close attention to operating weight numbers.
Build Quality & Durability: Housing Materials and Factory Lubrication
Switch housings dictate acoustic signature, leaf durability, and stem friction. We’re talking millions of keystrokes here. Manufacturers use polycarbonates for sharp, clacky sound profiles. Nylon delivers deeper, muted thocks. POM offers low-friction sliding surfaces. Factory lubrication quality? It varies wildly across brands. High-end switches usually come pre-lubed with uniform Krytox-grade grease. Cheaper units often ship bone dry, complete with noticeable spring ping. That’s annoying. Standard mechanical leaves are rated for 50 million to 100 million actuations. But Kailh-style hot-swap sockets on your board are typically rated for around 100 swap cycles. Bend leaf contacts during installation, and the switch won’t register keypresses at all. Don’t do that. Buying switches with thick copper contacts and durable stem legs prevents binding, reduces stem wobble, and ensures consistent key registration for years.
Comfort & Ergonomics: Spring Weights and Bottom-Out Feel
Ergonomics for keyboard switches revolve around spring weight profiles and bottom-out harshness. Heavy 70g progressive springs resist accidental key presses. Good for precision. But they can cause repetitive strain and hand fatigue during long typing sessions. Long-pole switches bottom out earlier on the center stem, not side rails. This creates a firmer, snappier acoustic thock. That said, this hard bottom-out can feel harsh on your joints if you’re a heavy-handed typist. Single-stage springs provide a soft linear ramp. Dual-stage extended springs, however, offer snappy return speeds. They push the key back against your finger instantly. Finding your ideal spring force keeps your hands comfortable. Whether you’re writing code or grinding competitive ladders, comfort matters. If your hands ache after two hours of gaming, your switch springs are probably too heavy for your typing style.
Features & Customization: 3-Pin vs 5-Pin, LED Diffusers, and Keycap Compatibility
Physical layout compatibility? That’s the most common pitfall when you replace mechanical keyboard switches. Switches come in 3-pin or 5-pin configurations. The 5-pin versions have two extra plastic side legs for PCB stability. If your hotswap board only accepts 3-pin switches, you’ll need to manually clip those extra plastic pins with flush cutters. North-facing LED boards feature light sockets mounted at the top of the switch housing. This can collide with the internal wall of thick Cherry-profile keycaps. South-facing sockets eliminate keycap interference completely. Want bright RGB illumination? Pick switches with clear housings or dedicated light diffuser lenses. Otherwise, opaque nylon housings will block underglow illumination entirely. Your key legends will stay dark in low-light setups.
 Image: representative product (Ducky)
Connectivity & PCB Compatibility: Hot-Swap vs Soldered and Optical Tech
Before you spend a dime on new switches, confirm your physical PCB architecture. Seriously. Traditional mechanical hot-swap boards use Kailh, Outemu, or Gateron sockets. They grip metal switch legs directly, no solder needed. But optical keyboards? They use light beams on the PCB. They demand specialized optical switches without physical metal contacts. You can’t put traditional 5-pin mechanical switches into an optical PCB. Magnetic Hall Effect boards need specialized magnetic switches, like Lekker switches. Trying to force standard MX contact switches into optical or magnetic PCBs simply won’t work. It can even snap your PCB traces. Always inspect your board’s spec sheet. Or just remove one key switch to verify the socket type. Do this before buying a batch of replacements.
Price vs Value: Navigating Diminishing Returns in Custom Switches
Switch prices? They span a huge range. From twenty cents per unit for entry-level budget linears to over a dollar per switch for boutique custom runs. A standard 75% layout keyboard needs around 80 switches. That means total switch costs typically range between $16 and $85. At twenty to thirty-five cents per switch, budget options like Akko V3 switches offer factory lube and tight tolerances. They rival premium options from just two years ago. Paying above sixty cents per switch gets you specialized nylon housing blends, custom dual-stage springs, and immaculate hand-applied lubricant. But here’s the kicker: diminishing returns hit hard past fifty cents per switch. Paying triple the price rarely delivers triple the performance on your desk. So don’t feel obligated to buy ultra-expensive switches to enjoy high-tier mechanical typing.
Best Budget Linear Switch: Akko V3 Cream Yellow Pro
The Akko V3 Cream Yellow Pro sets the benchmark for low-cost linear performance. At roughly $0.22 per switch, it’s a steal. It features a smooth POM stem, polycarbonate top housing, and nylon bottom frame. A light 50g operating force combined with a snappy 22mm extension spring makes keypresses incredibly responsive. No stiffness here. Factory lube is surprisingly consistent, eliminating high-pitched spring ping right out of the box. That’s a huge win for budget builds. These switches boast a 5-pin construction and built-in light diffuser lenses. They boost RGB dispersion across your keycaps. For budget-conscious gamers upgrading scratchy prebuilt switches, this set provides unbelievable value. It doesn’t require tedious manual lubing. It’s affordable, reliable, and smooth.
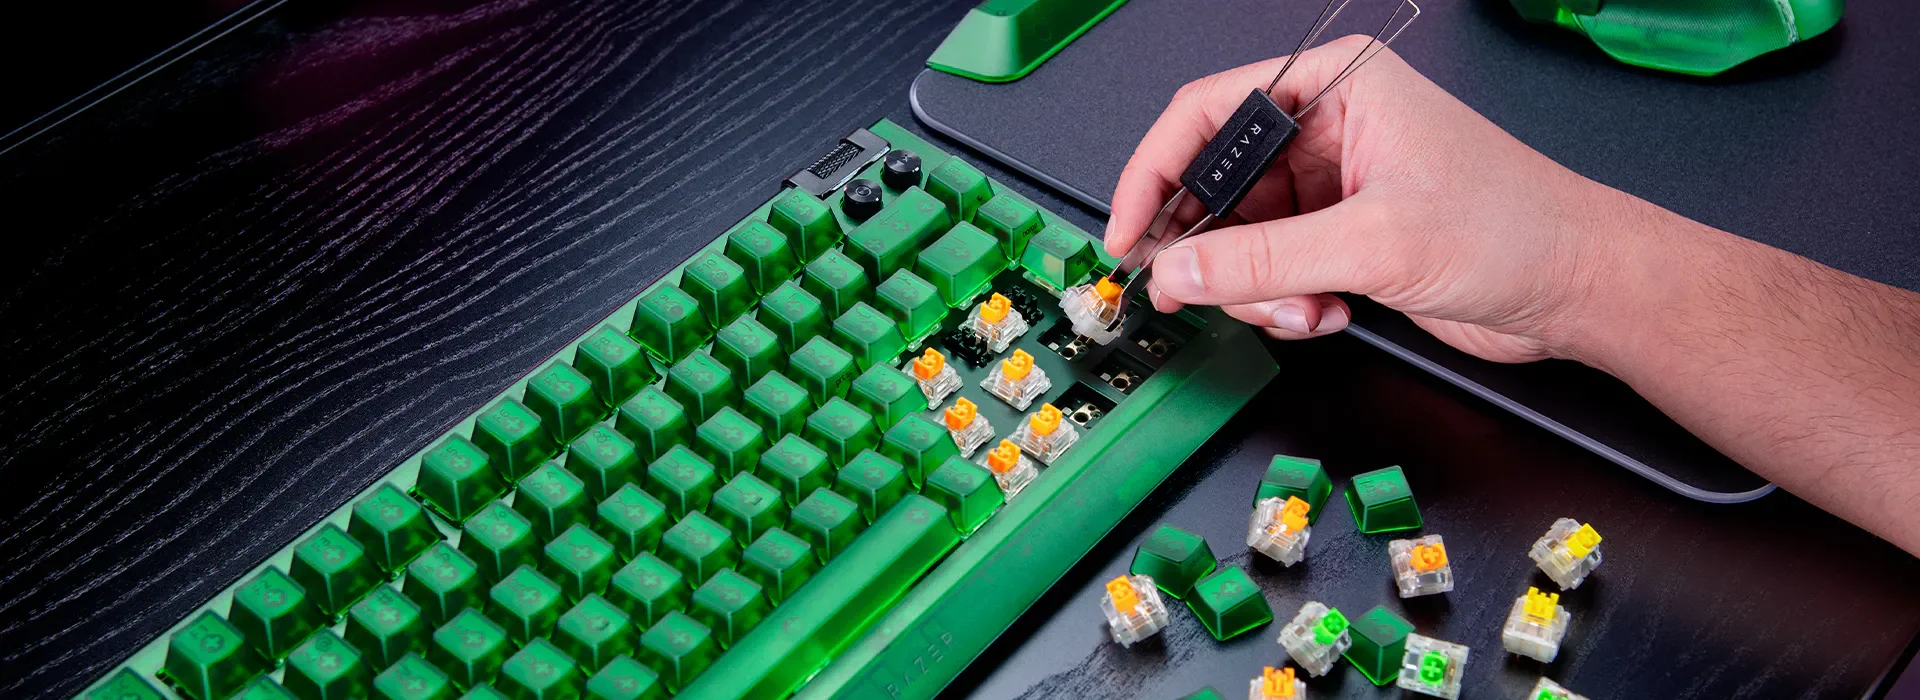 Image: representative product (Razer)
Best Premium Linear Switch: Gateron Oil King
Want a deep, muted thock sound profile and smooth linear travel, right out of the box? The Gateron Oil King is an absolute titan. It features a dark nylon bottom housing, a secret-formula blend top housing, and a black POM stem. Operating force sits at a comfortable 55g. A 20mm long spring guarantees rapid stem return. In our experience, the factory lube application on these switches is pristine. It eliminates all stem scratchiness. They don’t feel sticky or over-lubricated. The 5-pin layout delivers rock-solid structural stability, especially on plate-less custom builds. They’re pricier, at roughly $0.65 per switch. But the deep pitch and effortless motion absolutely justify the cost. For high-end mechanical board builds, these are top-tier performers.
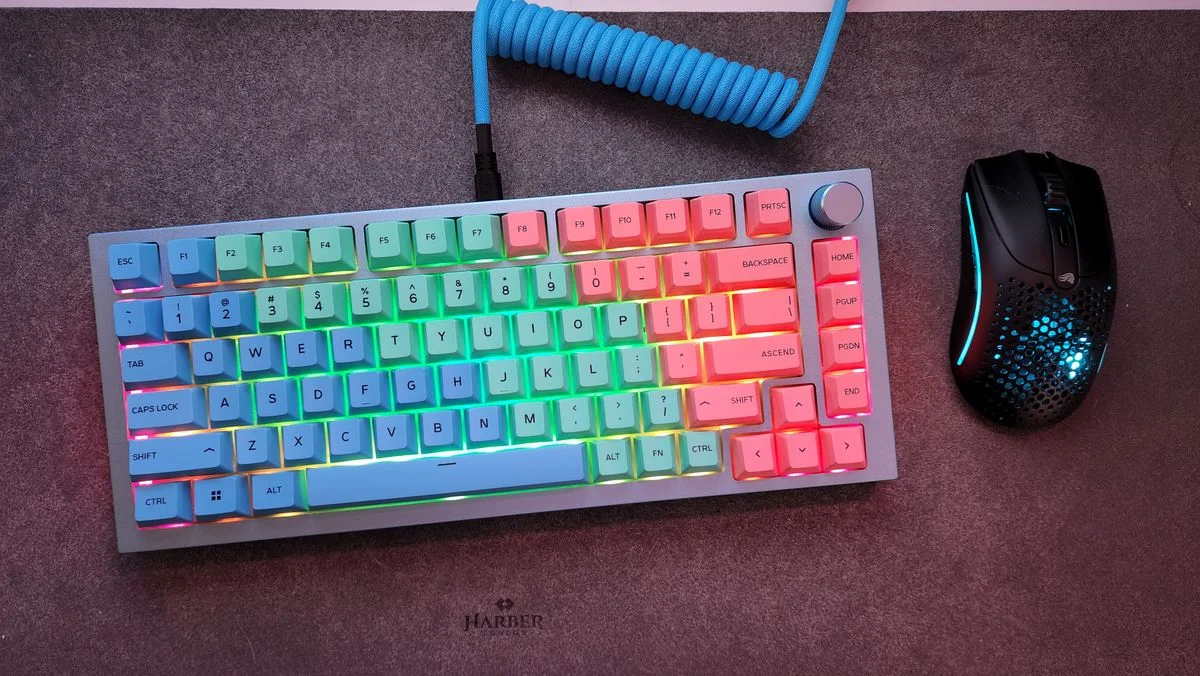 Image: representative product (Glorious)
Best Clicky Switch: Kailh Box White V2
Clicky switches typically suffer from annoying rattle and uneven key feel. The Kailh Box White V2 fixes those design flaws with its click bar mechanism. Unlike traditional click jackets that bounce inside the stem, a click bar snaps crisp audio signals on both downstroke and upstroke. With a light 45g actuation force and a short 1.8mm pre-travel, this switch feels fast and precise. Great for gaming. It still provides crisp tactile feedback. The enclosed IP56 dustproof stem walls prevent wobble and protect internal leaf contacts from debris. But keep this in mind: clicky switches are loud. Seriously loud. If you share a room or stream without noise suppression, these will bleed into your microphone instantly. So plan your room acoustics accordingly. No excuses.
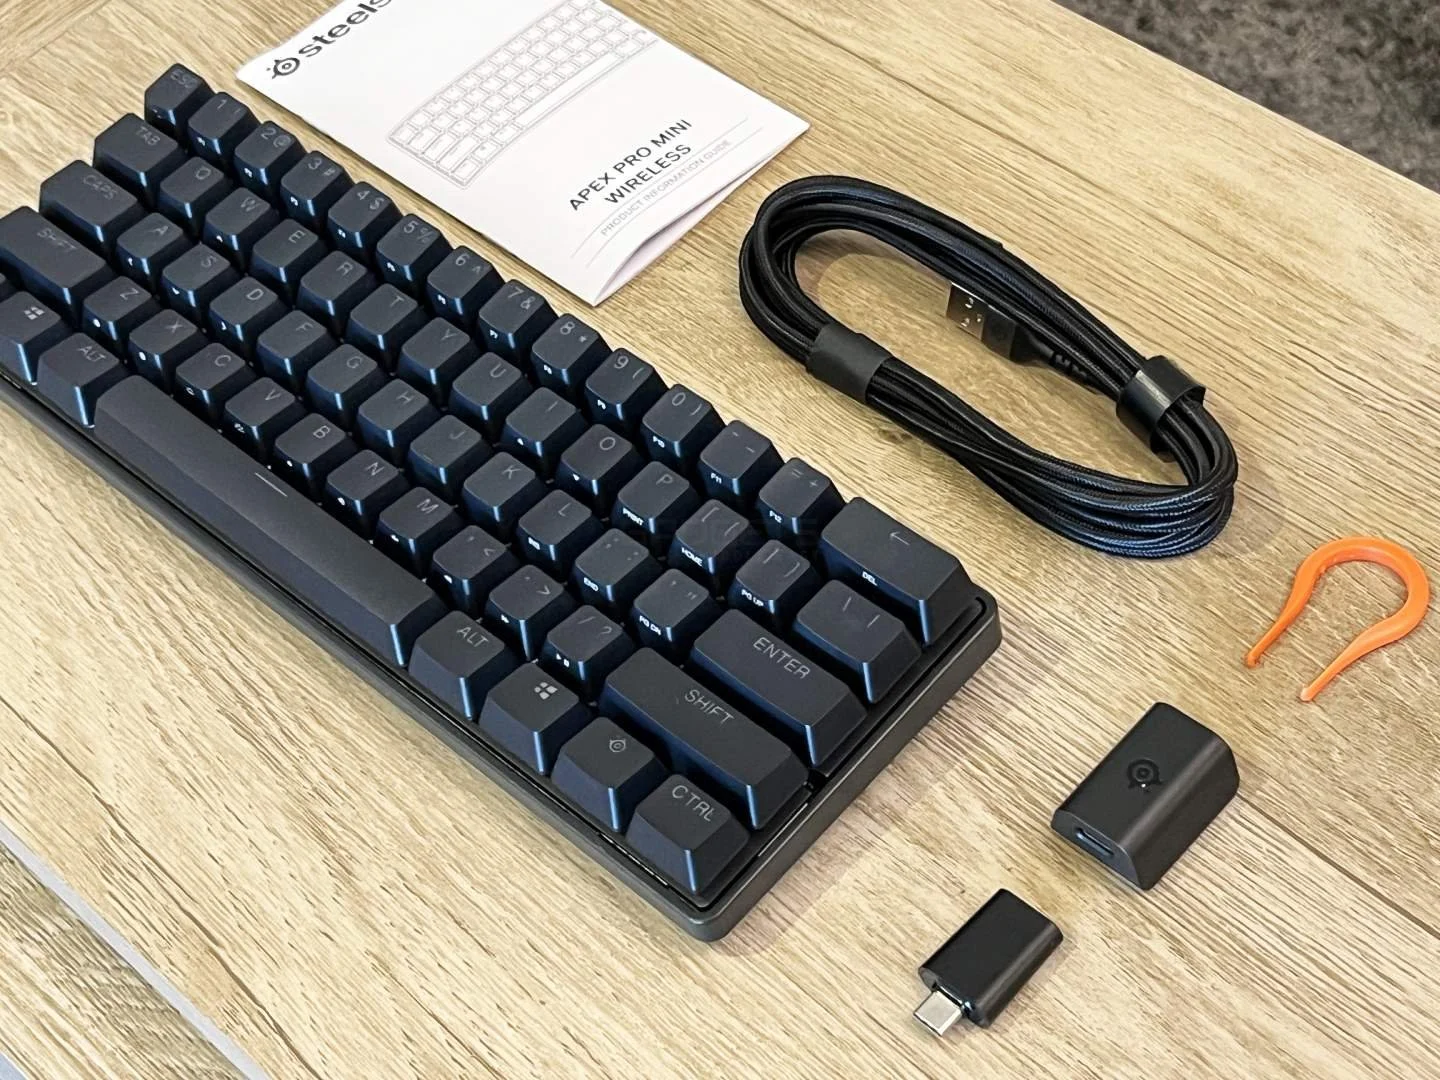 Image: representative product (SteelSeries)
Best Enthusiast Linear Switch: Cherry MX Black Clear-Top
Enthusiasts affectionately call these Nixies. The modern Cherry MX Black Clear-Top updates a legendary vintage tooling. Built with a heavy 63.5g bottom-out spring force, these linear switches prevent accidental misclicks. Crucial for high-pressure gaming moments. The clear nylon top housing and deep black bottom shell produce a classic, clack-heavy sound profile. Mechanical keyboard purists crave it. Gold-crosspoint contact leaves deliver long-term durability. They’re rated for up to 100 million actuations. But be aware: they come dry from the factory. Expect mild spring noise. To unlock their full potential, you’ll want to spend an afternoon lubing the springs and stem rails manually. This makes them ideal for hands-on keyboard modders. Not for everyone.
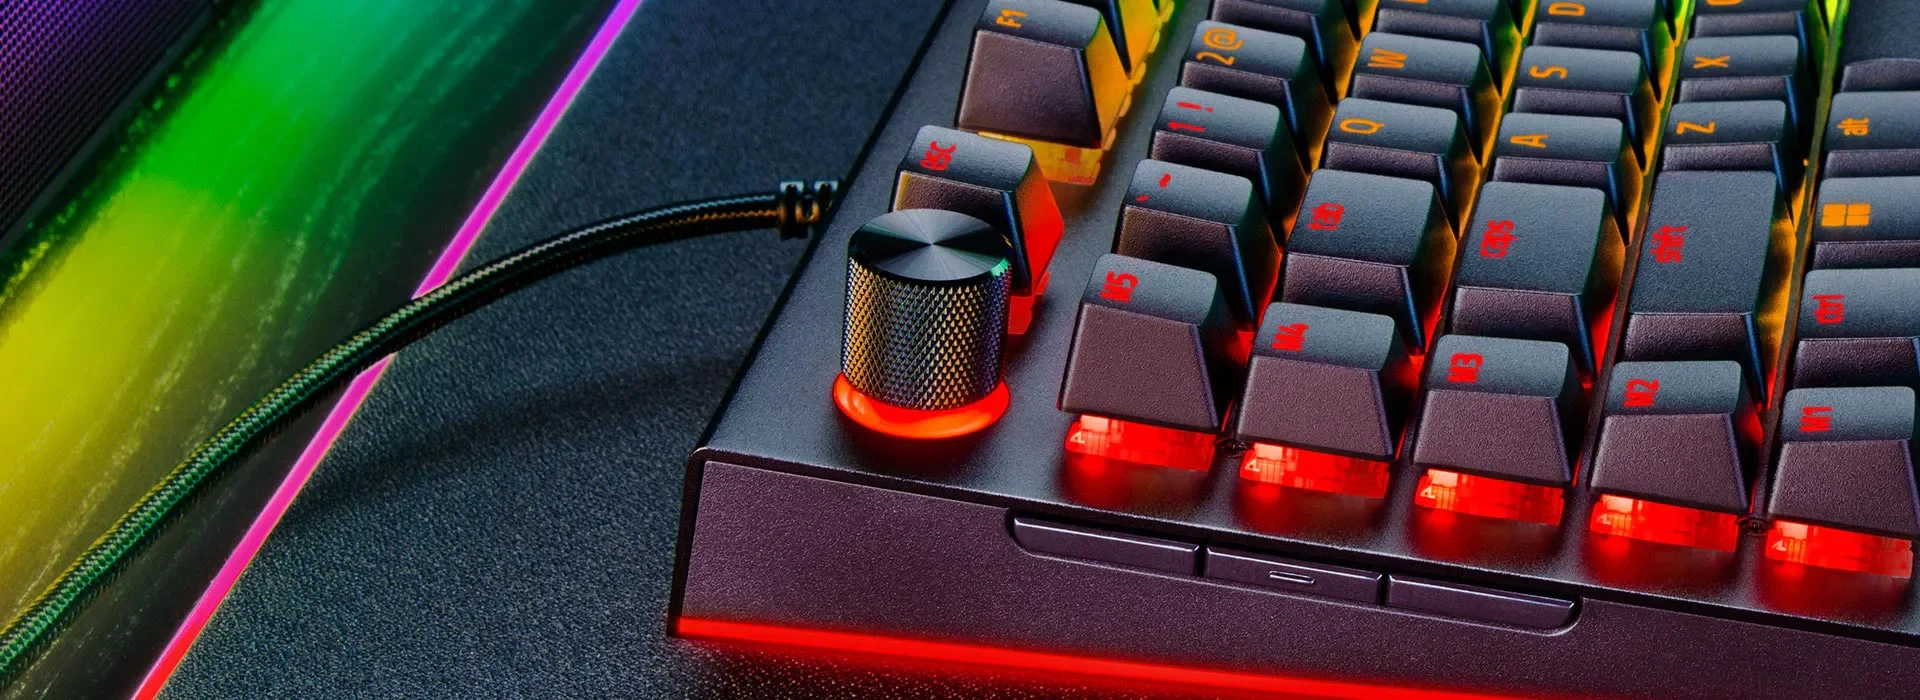 Image: representative product (Razer)
Best Tactile Switch: Gazzew Boba U4T
Gamers demanding maximum tactile feedback without slop? The Gazzew Boba U4T is your icon. It features a proprietary plastic blend housing and a long-pole stem design. It delivers a massive, rounded tactile bump right at the very top of the key stroke. Operating force sits around 62g or 68g, depending on your spring choice. Every press gets a satisfying physical punch. The long pole stem hits the bottom housing early. This creates a loud, deep thock that fills the room. Not perfect, but close. Housing tolerances are so tight that switch films are completely unnecessary. If you hate mushy bump profiles and want decisive tactile confirmation during work or play, this is the switch to buy. You won’t regret it.
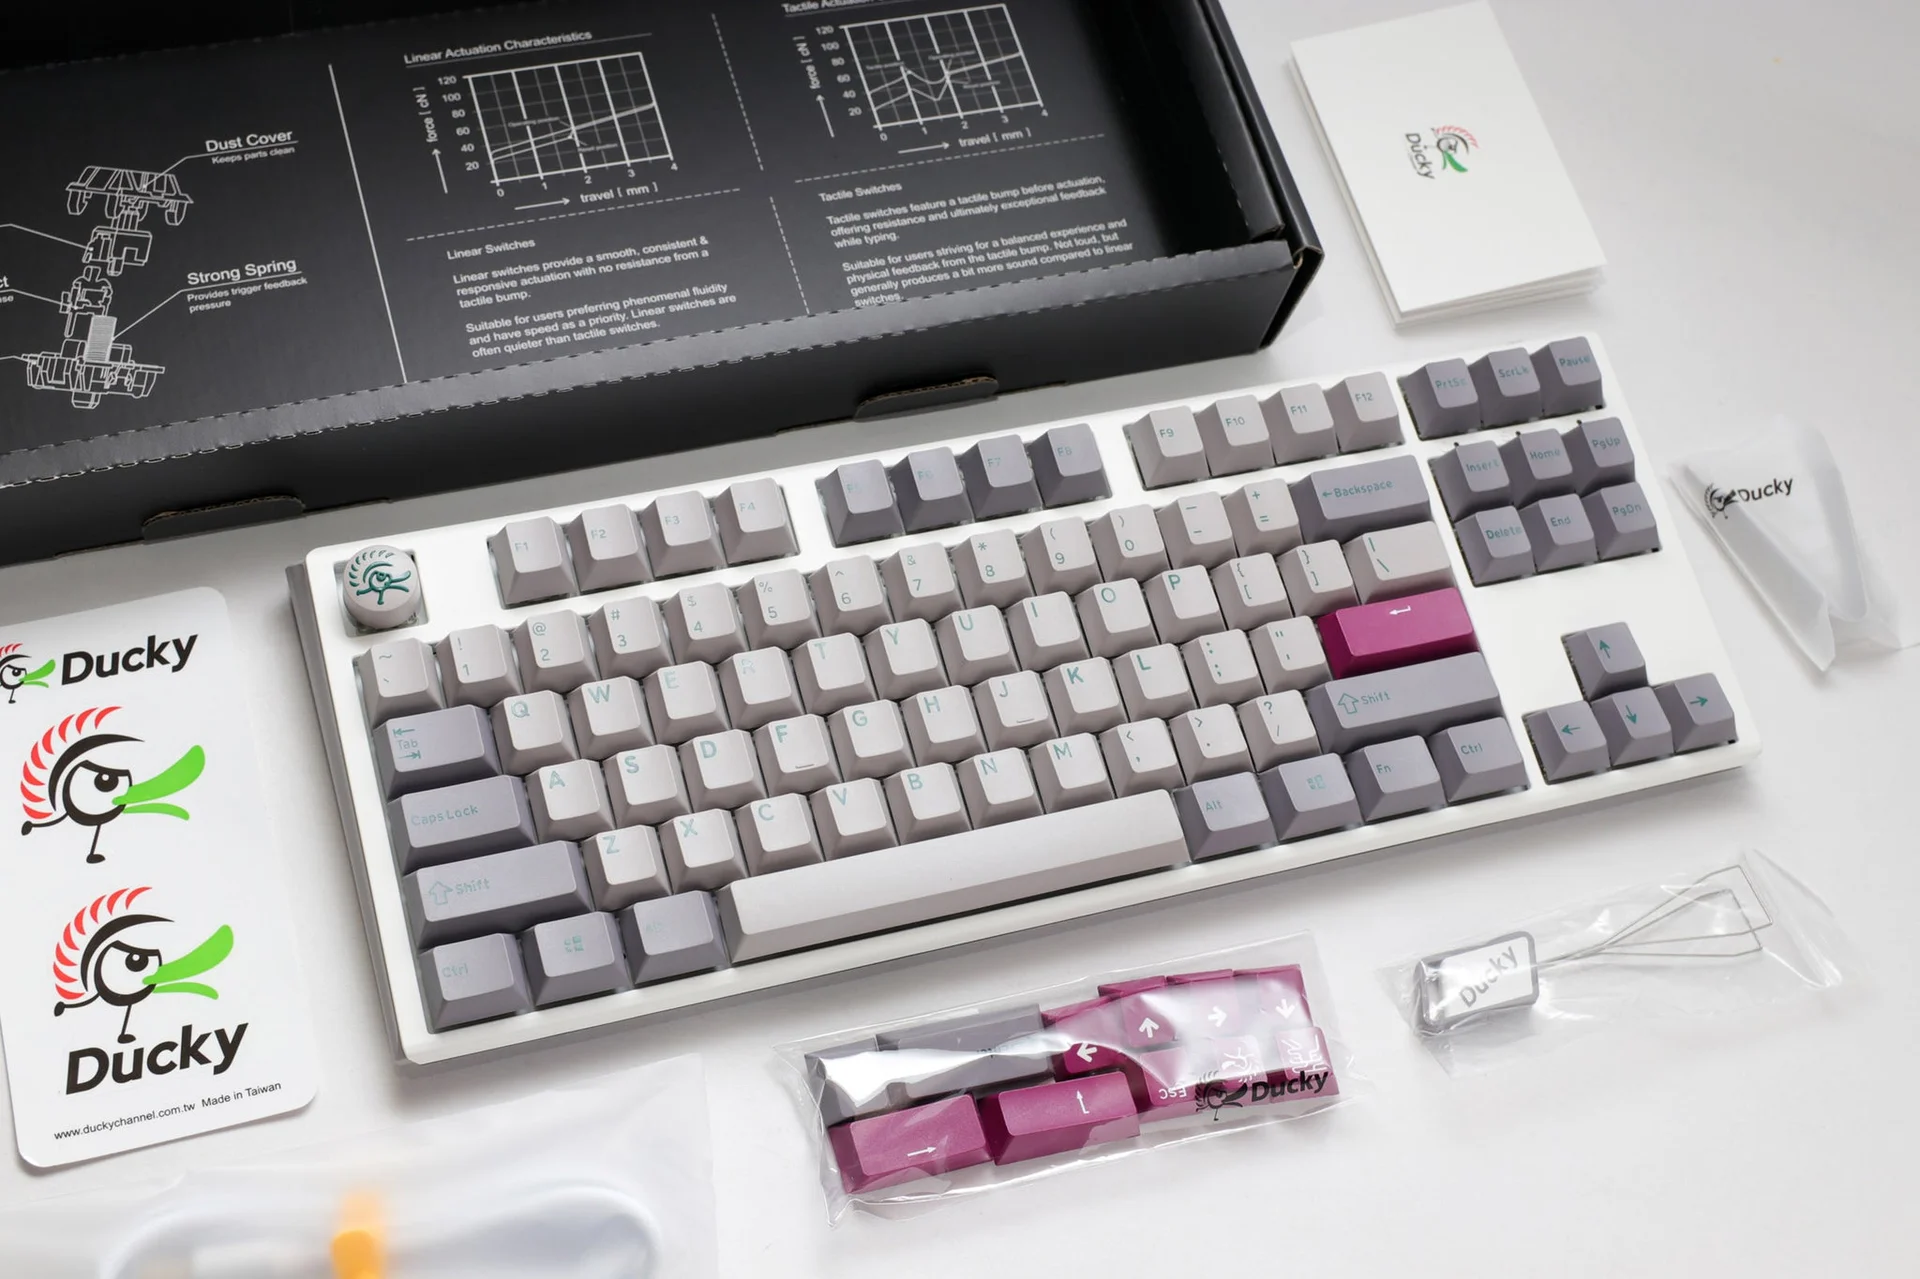 Image: representative product (Ducky)
Common Mistakes to Avoid When Replacing Keyboard Switches
Replacing mechanical switches? It’s straightforward. But beginner mistakes can easily ruin hardware. The absolute most common error: forcing 5-pin switches into a 3-pin PCB. This bends copper legs flat against the board and destroys electrical contact. Another classic mistake is trying to install standard mechanical switches into an optical hot-swap socket. Optical boards rely on infrared sensors. They lack copper leaf pin sockets entirely. Players also frequently pull switches out without pressing the plastic top and bottom release clips. That causes housing tabs to snap off completely. Lastly, ignoring keycap profile interference on North-facing PCBs leads to unpleasant, mushy key bottom-outs. Double-check your socket specs before applying physical force. Always align pins straight down. Seriously, be gentle.
How to Match the Right Switch to Your Specific Use Case
Different gaming genres and workflows demand different switch characteristics. Period. Competitive FPS players should target light linear switches. Look for low pre-travel, around 1.2mm to 1.8mm. This shaves off milliseconds during quick movement strafes. Casual gamers who split time typing documents and playing RPGs will thrive on balanced tactile switches. Options like the Gazzew Boba U4T offer solid tactile feedback without finger fatigue. Streamers and content creators? They must prioritize silent linear switches or factory-lubed linears with smooth nylon housings. It prevents noise pollution on stream. Budget builders should stick to pre-lubed, sub-30-cent switches. The Akko V3 Cream Yellow Pro is a prime example. This stretches your dollar without sacrificing smoothness or acoustic quality.
Mechanical Keyboard Switch Comparison
Comparing specifications side-by-side reveals clear differences. We’re talking spring weight, stem travel, housing materials, and acoustics. Below, you’ll find a breakdown of our recommended switch models. It’ll help you identify which profile matches your desk setup. Inspecting actuation force, pre-travel distance, and pin configurations in advance is crucial. It ensures you won’t run into physical compatibility issues during assembly. Need light linears for rapid competitive inputs? Or heavy tactiles for precise typing accuracy? Cross-referencing these core specs helps you choose the perfect switch. No guesswork required.
Frequently Asked Questions
Got lingering questions? Hot-swap sockets? Switch pins? Keycap interference? Here are direct answers to the most common questions gamers ask when learning how to change keyboard switches. Understanding hot-swap socket life spans, pin clipping procedures, and PCB lighting orientations prevents costly purchasing mistakes. We break down the technical realities of mechanical switch replacement. This way, you can modify your mechanical keyboard setup safely, reliably, and efficiently. No damaged PCB trace contacts.
Final Verdict: Upgrading Your Keyboard Switches
Upgrading your mechanical keyboard switches transforms your typing and gaming experience. More dramatically than any keycap set or RGB lighting mode ever could. If your keyboard features a hot-swappable PCB, learning how to change keyboard switches grants endless customization freedom. No touch-and-go soldering required. For pure budget value and effortless gaming smoothness, grab the Akko V3 Cream Yellow Pro set. Want maximum acoustic thock and ultra-smooth key travel? Invest in the Gateron Oil King. Know your PCB socket type. Pick the stem force profile that matches your fingers. Upgrade your desk setup with confidence. You’ve got this.
Comparison
| Switch Model | Switch Type | Actuation Force | Pre-Travel / Total Travel | Pin Count | Factory Lube |
|---|---|---|---|---|---|
| Akko V3 Cream Yellow Pro | Linear | 50g | 2.0mm / 3.3mm | 5-Pin | Yes |
| Gateron Oil King | Linear | 55g | 2.0mm / 4.0mm | 5-Pin | Yes |
| Kailh Box White V2 | Clicky | 45g | 1.8mm / 3.6mm | 5-Pin | Light |
| Cherry MX Black Clear-Top | Linear | 63.5g | 2.0mm / 4.0mm | 5-Pin | No |
| Gazzew Boba U4T | Tactile | 62g / 68g | 2.0mm / 3.5mm | 5-Pin | Light |
Frequently Asked Questions
Can you replace mechanical keyboard switches on any mechanical keyboard?
Nope. You can only swap switches easily if your keyboard boasts a hot-swappable PCB. Got soldered switches? You'll have to desolder every single joint. That means a soldering iron, patience, and a lot of tedious work before you install new switches. It isn't a quick upgrade.
What is the difference between 3-pin and 5-pin mechanical switches?
5-pin switches pack two extra plastic mounting pins on the bottom housing. They add PCB stability. 3-pin switches skip these plastic side legs entirely. Need to fit a 5-pin into a 3-pin board? Just clip those extra plastic legs off with flush cutters. Easy.
Will optical switches work in a standard hot-swap mechanical keyboard?
Absolutely not. Optical switches use light beams on the PCB to register keypresses. They lack physical metal leaf contacts. Standard hot-swap PCBs, on the other hand, demand physical metal legs to complete an electrical circuit. They're fundamentally incompatible.
Do I need to lube my switches if they come factory lubricated?
For modern, high-quality factory-lubed switches like the Gateron Oil King or Akko V3 Cream Yellow Pro, typically, no. The factory application is good enough. It eliminates the need for manual lubing. However, dry switches—Cherry MX Black Clear-Tops come to mind—definitely benefit from custom hand lubrication. It makes a huge difference.
How long do Kailh hot-swap sockets last?
Standard Kailh hot-swap sockets are rated for about 100 swap cycles. That's a lot. As long as you insert switch legs straight—don't bend those metal pins!—your sockets will easily last through years of frequent switch changes. Durability isn't an issue if you're careful.
Where to Buy
- Akko V3 Cream Yellow Pro on Amazon
- Gateron Oil King on Amazon
- Kailh Box White V2 on Amazon
- Cherry MX Black Clear-Top on Amazon
- Gazzew Boba U4T on Amazon
Related Articles
- Best Gaming Keyboards Under $150 2026: Top Rated Picks
- Best Gaming Mechanical Keyboard Buying Guide 2026
- Best Mechanical Gaming Keyboard Buying Guide: 2026 Edition
- Best Mechanical Keyboard by Budget (2026): Top Picks for Every Price Range
- Best Mechanical Keyboards Under $100: Quality Builds on a Strict Budget (2025)