

When you purchase through links on our site, we may earn an affiliate commission.
What We Like
- Custom component selection allows tailored price-to-performance ratio
- Clear upgrade path for future CPU, GPU, and RAM swaps
- Better airflow and cooling potential compared to standard pre-built systems
What Could Be Better
- Requires manual assembly and hardware compatibility checks
- Initial setup requires manual driver and operating system installation
Introduction: Why Build a Custom Gaming PC?
Define Your Gaming Goals
Competitive esports titles like Counter-Strike demand high CPU clock speeds for maximum frame rates. Conversely, modern AAA titles depend heavily on graphics card horsepower to render complex lighting and high-resolution textures without dropping below 60 frames per second.
Targeting Resolution and Refresh Rate
Monitor specifications dictate hardware requirements. Gaming at 1080p resolution requires less graphical processing power, where an 8GB VRAM graphics card handles demanding settings. Moving up to 1440p or 4K resolution requires graphics cards equipped with at least 12GB of VRAM to maintain stability at 144Hz refresh rates.
Budget Planning and Performance Expectations
Component pricing places budget builds between $750 and $1,000 for solid 1080p performance. Mid-range systems run from $1,200 to $1,600 for high-refresh 1440p gaming, while high-end setups exceeding $2,000 target high-frame-rate 4K gameplay and heavy rendering workloads.
Selecting the Right CPU
The central processing unit executes game calculations. Entry-level systems rely on chips like the Intel Core i3-12100F priced around $107. Mainstream builds benefit from 6 to 8 cores, such as Intel Core i5 or AMD Ryzen 5 and Ryzen 7 processors, preventing CPU bottlenecks in modern titles. View processors on Amazon.
Choosing a Graphics Card (GPU)
Visual frames are rendered by the graphics card. For 1080p gaming, an 8GB VRAM card like the AMD Radeon RX 6600 priced around $220 provides smooth frame rates. Pushing toward 4K or ray tracing demands 12GB to 16GB of VRAM to avoid texture memory limits. View graphics cards on Amazon.
Selecting the Motherboard
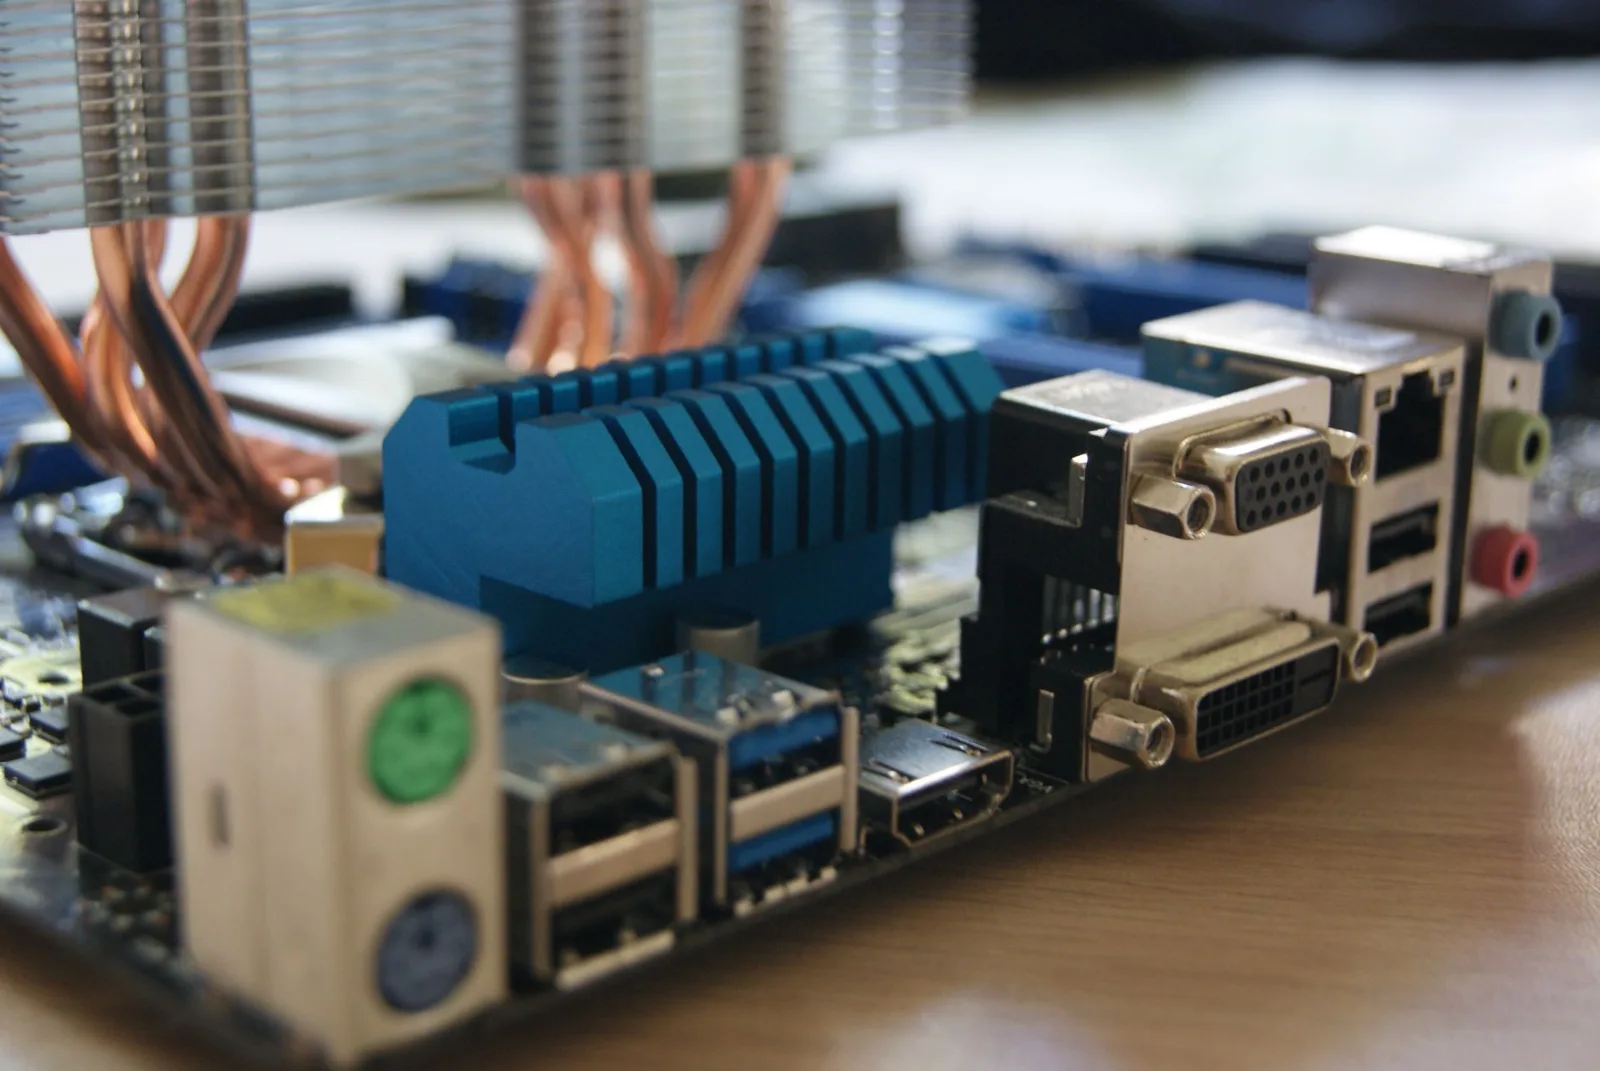
Motherboards connect every component and require socket compatibility. Pairing an entry processor with the ASUS PRIME H610M-E D4 motherboard priced around $100 covers basic routing needs. Form factors span ATX, Micro-ATX, and Mini-ITX depending on enclosure size. View boards on Amazon.
Picking RAM (System Memory)
System memory stores temporary game data. Technical consensus indicates 16GB of DDR4 memory priced around $40 serves as an entry baseline. For modern gaming and multitasking, 32GB of DDR5 memory running at 6000MHz with CL30 latency represents the current optimal sweet spot.
Choosing Fast NVMe SSD Storage
Solid-state drives eliminate slow loading screens. A 1TB NVMe PCIe Gen4 SSD priced around $68 provides fast boot times and ample space for games. Upgrading to a 2TB NVMe SSD offers long-term storage convenience without needing secondary mechanical hard drives.
Power Supply Unit (PSU) Requirements
Power supplies deliver steady voltage across components. Entry builds require 450W to 550W, mid-range rigs need 650W to 750W, and high-end rigs require 850W or more. Selecting an 80 PLUS Gold rating ensures energy efficiency and headroom for future upgrades.
PC Case and Airflow Configuration
Case choice impacts operational temperatures. Enclosures with mesh front panels and multiple fan mounts maintain intake and exhaust air movement. Entry options like a Thermaltake case priced around $79 offer built-in fans and basic cable management cutouts. View cases on Amazon.
CPU Cooling: Air vs Liquid AIO
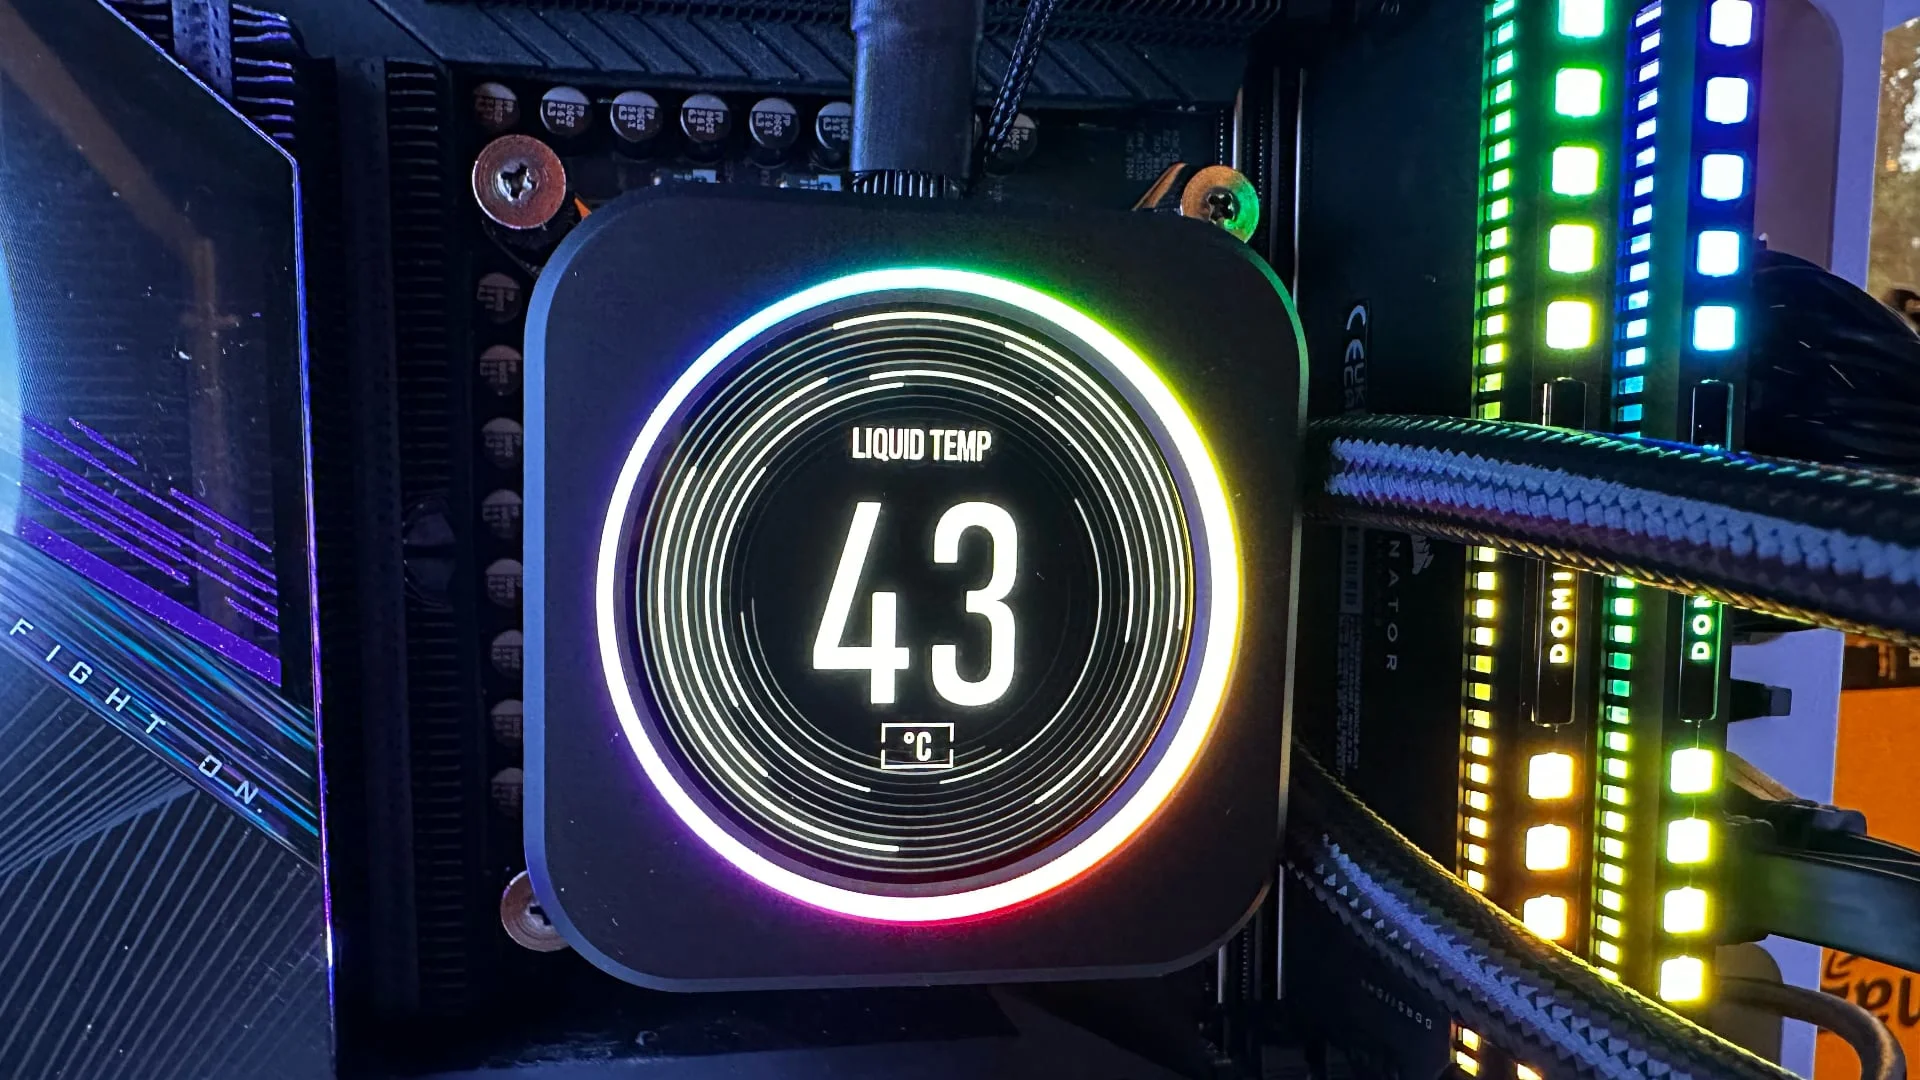
Included air coolers handle budget processors efficiently. Higher-wattage mid-range or high-end processors generate excess heat, requiring dual-tower air coolers or 240mm to 360mm All-In-One (AIO) liquid coolers to maintain optimal clock speeds under full load.
Operating System and Drivers
Windows installs via a USB flash drive created with the official Microsoft tool. Post-installation requires downloading graphics drivers from NVIDIA or AMD alongside motherboard audio and chipset drivers directly from manufacturer support pages.
Sample Budget Gaming PC Build
An example budget configuration pairs the Intel Core i3-12100F ($107), ASUS PRIME H610M-E D4 motherboard ($100), 16GB DDR4 RAM ($40), 1TB NVMe SSD ($68), AMD Radeon RX 6600 ($220), Thermaltake case ($79), and a 650W 80+ Gold PSU ($88) to deliver solid 1080p frame rates for under $750.
Step 1: Prepare Your Workspace and Tools
Working on a flat, non-carpeted table in a well-lit room prevents static discharge and lost hardware. Only a magnetic #2 Phillips screwdriver is required, alongside small trays to organize screws during component mounting.
Step 2: Install the CPU on the Motherboard
Placing the motherboard on top of its cardboard box protects the underside pins. Open the socket retention arm, align the triangle marker on the processor with the socket indicator, drop the CPU in without pressure, and clamp the arm down.
Step 3: Install RAM Modules
Open the DIMM slot latches on the motherboard. Align the notch on the memory stick with the key in the slot, pressing down firmly on both ends until the side clips click shut. Two-stick configurations on four-slot boards belong in slots 2 and 4.
Step 4: Install M.2 NVMe SSD
Locate the primary M.2 slot near the top PCIe lane. Remove the mounting screw, insert the M.2 contacts at a 30-degree angle, press the drive flat against the standoff, and secure it with the retaining screw.
Step 5: Mount Motherboard into PC Case
Screw standoff pegs into the case matching the motherboard form factor. Align the rear ports with the I/O shield, lower the board onto the standoffs, and tighten the mounting screws snugly.
Step 6: Install Power Supply and Route Cables
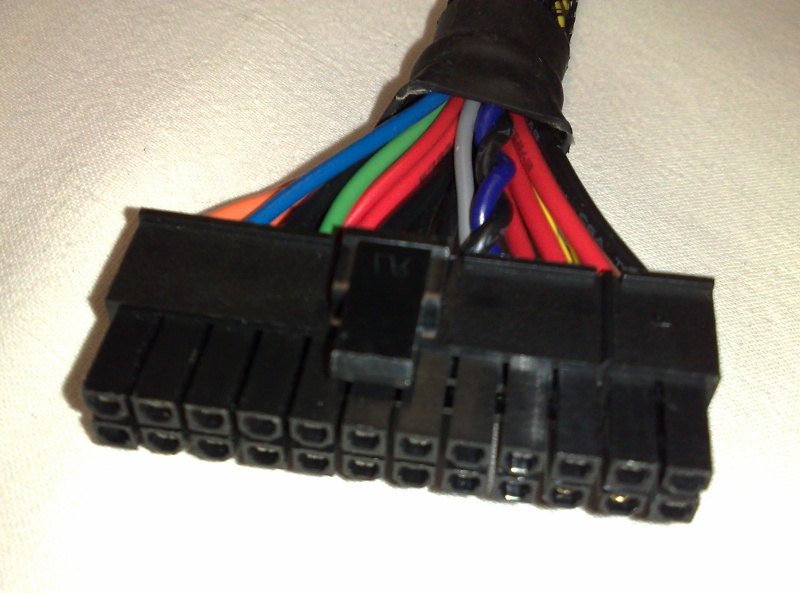
Slide the power supply into the bottom chassis bay with its fan facing downward toward the dust filter. Secure it with four rear screws, then route the 24-pin main power and CPU cables through cutouts behind the motherboard tray.
Step 7: Install Graphics Card
Remove expansion slot covers corresponding to the top PCIe slot. Unlatch the slot retention lock, align the card contacts, push down until the slot clicks, secure the bracket with screws, and attach PCIe power cables.
Step 8: Cable Management and Initial Boot
Bundling loose cabling behind the motherboard tray with zip ties keeps front airflow clear. Plug the display cable directly into the graphics card rather than the motherboard, connect power, flip the PSU switch, and press the chassis power button.
Step 9: Enable Memory Profile in BIOS
Pressing the Delete key during system boot opens the BIOS interface. Locate XMP (Intel) or EXPO (AMD) in the menu and enable it to run RAM at its advertised frequency rather than default base speeds.
Common Assembly Mistakes to Avoid
Errors include plugging display cables into motherboard video ports instead of the graphics card, leaving plastic peel covers on the bottom of CPU coolers, and omitting motherboard standoffs.
Recommended Hardware Upgrade Order
Upgrading the graphics card takes priority when frame rates drop at target resolutions. Expand system RAM to 32GB next if multitasking falters, followed by additional NVMe storage and higher-wattage power supplies for future platform updates.
Final Thoughts on PC Building
Building a custom rig grants individual component warranties, simpler repair paths, and straightforward upgrade tracks. Following a step-by-step assembly process ensures a stable system configured precisely to performance and budget requirements.
Frequently Asked Questions
How long does it take to build a gaming PC?
For beginners, assembling a gaming PC typically takes 2 to 4 hours. Preparing your workspace and reviewing component manuals beforehand speeds up the process.
How much RAM do I need for gaming?
16GB of RAM is the standard baseline for 1080p gaming, while 32GB is recommended for modern AAA titles and background multitasking.
Is it cheaper to build or buy a gaming PC?
Building a gaming PC generally yields better performance per dollar because you avoid pre-built assembly markups and proprietary, hard-to-upgrade parts.
What is the most important component for gaming?
The GPU (Graphics Processing Unit) is the most critical component for rendering visuals and dictating in-game frame rates at higher resolutions.
Where to Buy
- Intel Core i3-12100F on Amazon
- AMD Radeon RX 6600 on Amazon
- ASUS PRIME H610M-E D4 Motherboard on Amazon
- Thermaltake Case on Amazon